Showing posts with label Tutorial. Show all posts

Saturday, April 25, 2015

Mug Rug Tutorial

Mug Rug: A cute mat to place your mug and muffin on. 
Enhances the morning coffee experience and protects your coffee table in a fashionable way.


That's not the dictionary definition, in case you were wondering. It's my own version. 

Have you priced coasters lately? They can be expensive. And ugly. I had been looking for some coaster ideas to make at home and ran across the mug rug idea. It was love at first sight. After all, fabric is so pretty, it's almost an art form itself. And sewing my own mug rug allows me to use cute fabrics that match my decor, or just make me happy. Plus an extra bonus is that 'mug rug' is way more fun to say than 'coaster', right?
If you are an intermediate sewer, you can make some cute mug rugs for yourself. 
But be careful, when your friends see them, they are going to want some too. 

You will need:
Fabric scraps
Interfacing
thread
sewing machine
rotary cuter
cutting mat and ruler

I used some pretty stiff interfacing because  got it for free from my sister. It allows the mug rug to lay nice and flat which I really like. There can't be any wobbly coffee mugs near me. I'm an over-filler.

Here is the one I used:


You are going to cut your interfacing 6" x 7" 
(you can really make these any size you want, this is just what I did)

Here we are; nice neat rectangles.


Next, you will want to go to your fabric stash. Or maybe you'll pick your fabrics first and then cut your interfacing. Whatever works for you. I like to let everyone be an individual.


I picked out a few scraps I liked. I decided to just piece strips together to make the top. 


I use one solid piece for the back. If you feel ambitious, you could piece the back too. (I wouldn't do that myself unless I was feeling a little overly ambitious. That rarely happens.)


Sorry, no measurements for you here because there is no real pattern. Obviously you want your finished size to be the same size as your interfacing which is 6 x 7. I pieced my fabric together randomly and made sure it was at least too big so I could trim it down.


When you are done, you will iron your face and back onto your fusible fleece. I like this because it keeps everything from shifting during the binding process. 


Trim off any excess fabric.


And, voile! You have an interfacing sandwich


Next, we are going to make our binding. 
This is the most complicated part of this project. But a binding really finishes off a project and adds just the right amount of pizzazz. 
That's right, I said pizzazz. 


You need to cut 2 1/4" strips. Enough to go all the way around your project.


Here's how you join two strips together: lay them down right sides together at the ends, it helps to over lap a little like in the upper picture.


Then you will sew a diagonal line from the top corner of the bottom fabric to the lower corner of the top fabric. I always have to make sure of which way I am supposed to sew BEFORE I begin sewing. I've done it wrong too many times.


When you are done you will have a little flag. Trim that off about 1/4" from your seam.


Press the seam open. Now your strips are joined together!


Cut one end at an angle, fold over 1/4" and press


Now take that long strip of fabric and fold it all in half, pressing as you go.


Your are going to lay the pointy end of your binding strip on the top of your mug rug about an inch down on one side. Put the raw edge of the binding strip fabric on the outside of your mug rug project. Give your self about 2 inches from the top of your binding strip before you start sewing. Sew a quarter inch in from the raw edge of your binding strip. Stop sewing a 1/4" from the end of the side you are sewing.


Fold that binding fabric up off of the mug rug.


Then fold it back over the top of that fold you just made. (This is where I hope the pictures are explaining this process better than my words.)


Continue sewing in this manner all the way around your mug rug until you get to the beginning.


The end of your binding strip is going to tuck inside of the beginning of your binding strip.


See, just like that. Then you sew it down. 


Ta! Da! That was a big accomplishment.


After taking a moment to admire your hard work and mostly straight stitching, it's time to move on the the next step.


Peel that binding back and press it open. 


It will look a little like a hot dog basket. But I would't go putting any hot dogs in it.


Now you have to fold the binding around to the back side and pin, pin, pin. Miter those corners so they look nice.
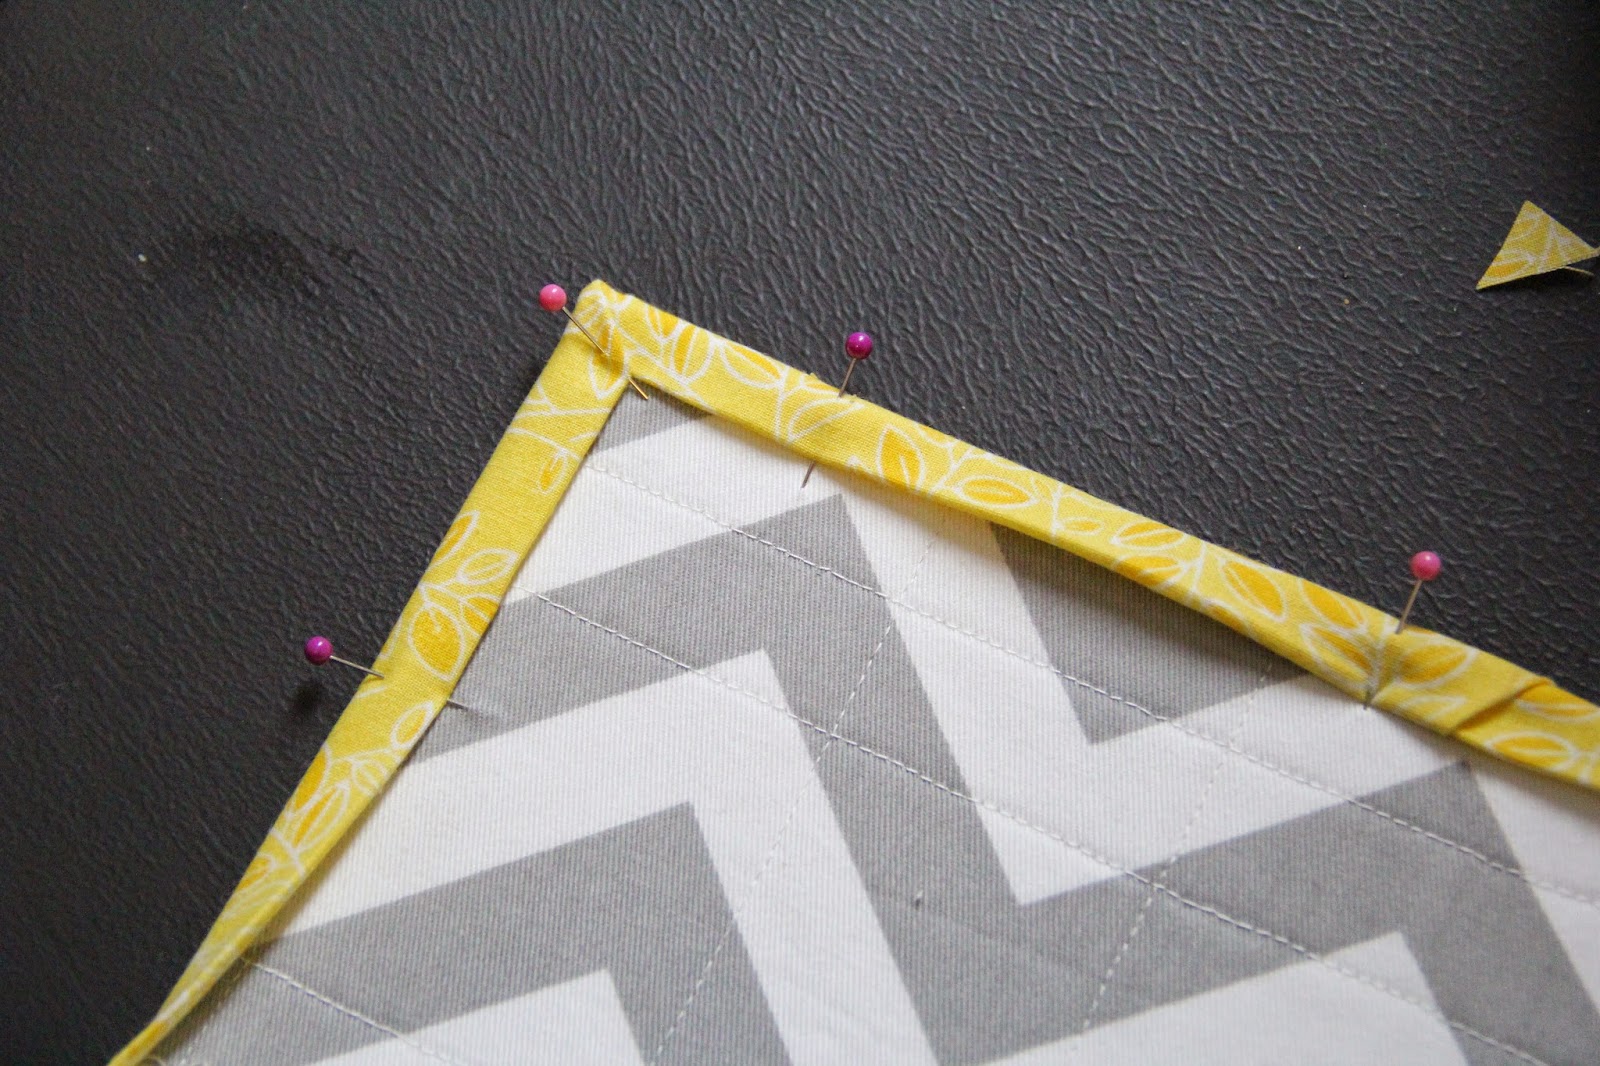

I admit, I hate pinning. But there really is no other way to get this done right. 


Now flip that bad boy over to the top and you are going to stitch in the ditch all the way around.


At this point I pray that my measurements weren't off and that I pinned well enough. It's important that you catch the binding on the back side all the way around. This isn't as neat of a way to finish off a binding as hand stitching it. But who has time for that? Not this girl.


You did it! Stand back in amazement at what a beautiful thing you have just created. Mug rugs are fun and pretty. They are also more effective at soaking up drips than most coasters I have seen. 

Your morning mug will thank you for making this. 


Pin It

Tuesday, June 11, 2013

Dish Soap Stand {a tutorial}

                       I found this fun idea on Pinterest.  


I loved it and wanted to rush right out and buy all the pieces to make it that minute. But I live 1 1/2 hours from the nearest Target/TJ Maxx/ or any other cool store. So in an effort to be thrifty, I spent the next year looking for the perfect candle stick.  I had found one last summer, but alas, it came as a set and I liked them too much to tear them apart.  So, patiently waiting and keeping my eyes open, I finally found one at a rummage sale with my mom and sister this past weekend.  It did come in a set of three, but I convinced my mom that she only needed two candle sticks to be happy.  She wasn't sure she believed me but I convinced her that I needed that single, solitary candle stick to make my life complete.  
The best part though?  The original owner of those candle sticks was selling the whole 3 piece set for 1.00!  I actually had to look twice at the sticker, I couldn't believe it! 
That's what I call a super score!
I got my super cute plate from TJ Maxx of course. 

Here is all you need: 
1-candle stick
1-cute plate
1-hot glue gun

Just make sure that the top of your candle stick is smaller than the bottom of your plate of course! 


Heat up your hot glue gun and slap some hot glue on that candle stick.


Turn your cute plate upside down and stick the candle stick in the center of it. Make sure you work quickly so that the glue doesn't cool down and harden before you get it on the plate. 


And voile! You have a beautiful stand to add style and beauty to your kitchen sink.  Which frankly could use a little pick-me-up, at least in my house. 


All you need to do is add your dish soap and hand soap to your lovely new stand.  I put my dish soap in a glass decanter that I picked up from TJ Maxx for $4.00. That way it looks even prettier.  I may have to find a pretty bottle for the hand soap next.


I hope this inspires you to make your space a little less ordinary.  Beauty and creativity don't have to be 
expensive or difficult! 
Enjoy!
Jana
Pin It

Sunday, January 27, 2013

Home Made Laundry Soap on a Budget

Everyone likes to save a buck right? 
 Especially on things that aren't exactly 'fun' to buy.
Things like toilet paper and laundry soap definitely don't qualify as 'fun' purchases in my book.  
I haven't learned how to make my own toilet paper yet, but I have learned a really cost effective way to make laundry soap.


A good friend shared this recipe with me a couple of years ago. 
 I have made it in the powder and the liquid version.  Although I liked the powdered version, I've gotten a new washing machine since the last time I made it. (It's been a long time since I've made laundry detergent)  
I wanted to use a liquid this time and I wanted it thin enough to work well in my machine.  Like most new machines, mine is HE labeled.  This soap meets the HE standards. 
I already had all the ingredients in the laundry room.  Apparently they have a long shelf life. I was also running low on the store bought detergent I'd been using.  This offered me the perfect opportunity to make some more detergent.  It isn't hard, but it does take a little time, and some waiting.  The only unusual item you may not have on hand is a large bucket.  Oh, and enough storage containers to hold all your amazing soap!  You will have to plan ahead so you have enough of those.  You can use any recycled containers that you have on hand.
I know there are other tutorials out on the internet for this, but I thought I'd go ahead and share my method with you. This is very cost efficient.  It is also gentle on your skin. It should be safe enough for babies, but try it sparingly first. Plus, it cleans well.
You only need 4 ingredients if you count water.    
They are Borax, Super Washing Soda, and Fels-Naptha bar soap. You should be able to get all these ingredients all totaled for around $6.00 at your local grocery or Wal-mart stores.  Plus, there will be enough Borax and Super Washing Soda to make many more batches of detergent.


This is what Fels-Naptha looks like.  
I love the smell of this stuff. 


I also love the look of the bar once you unwrap it.


Okay, your first step is to grate the bar of soap.  Now you can do it by hand like I did, or you can take your food processor and use that.  Whichever you prefer.


Then you take 4 cups of warm tap water and the grated soap and put them in a pan on the stove.


Make sure you keep stirring it as it cooks on medium heat on the stove.  Your goal is to melt the soap, you're not trying to boil it.
                                   Look! Almost done!

Once the soap flakes are all melted, you will pour the mixture into your five gallon bucket.


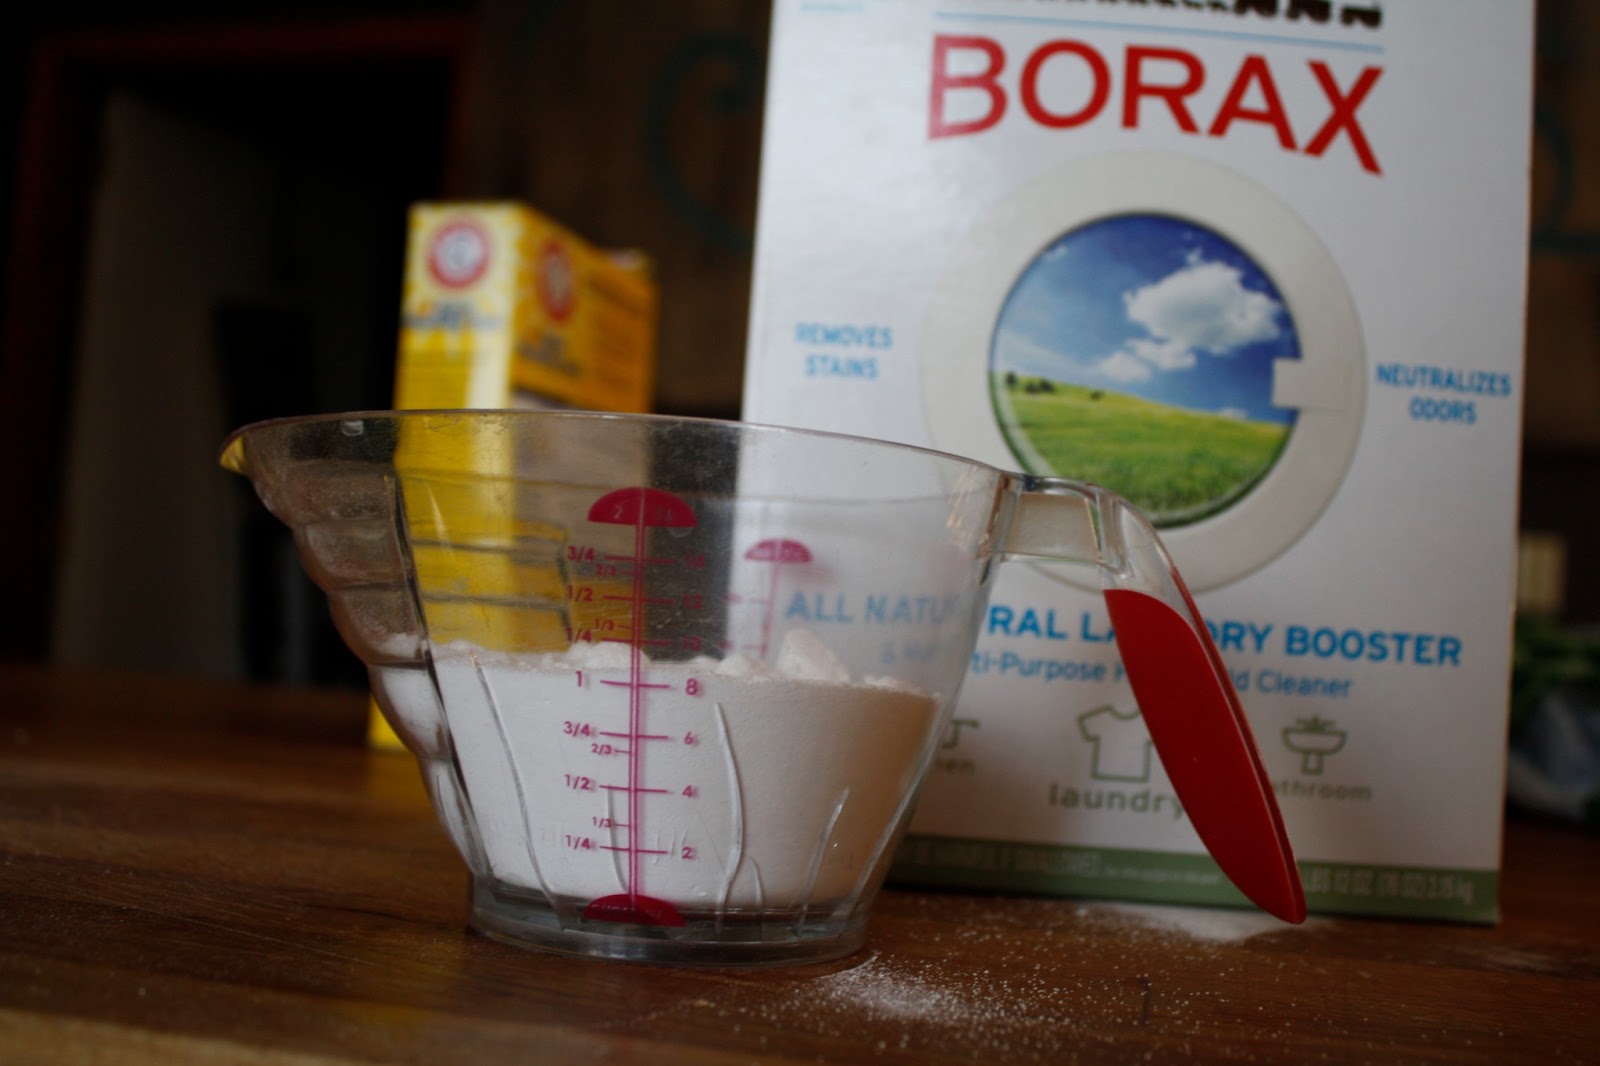
Now measure out 1 cup of Borax,


and 1 cup of Super Washing Soda.
I put mine in the same measuring cup at the same time.


                              Add them to the soap in the bucket.


Now, fill your bucket half full with more warm tap water.  You want it to be warm so that it dissolves the powders you just added.  Stir it up until you think that everything has turned into a liquid.


I suggest moving your bucket to where you are going to let it sit, before you fill it the rest of the way with warm water. A five gallon bucket full of liquid is pretty heavy and awkward to move.  You do not want to spill this bucket all over your floor in a moving disaster. Although, it would probably clean your floor nicely.


Find a lid to cover your bucket with.  Even a towel will work.  You just want to keep it from getting any schmutz in it as it sits.  
Now comes the hard part.  You need to let your bucket sit overnight and up to 24 hours.


When you take your lid off the next day. you will be able to see that things have changed.  It will really become apparent to you when you when you go to stir it.  It has changed from a thin liquid to a gelatinous glob. 
Don't you just love the word gelatinous?
I do.


You are now going to stir your gelatinous goo.  I used a long handled spoon.  It was not long enough. 
I still had to dig my hand into my soap. 


My spoon stirring did not break up the goo completely, so I got out my handy-dandy mixer to help me out.  I mixed with one hand and stirred with the other and eventually I broke up all that goo into a slightly curdled looking liquid.


Now is when you need all of those storage containers that you have collected.  I happened to have quite a few large mason jars.  These are about a 2 quart size. 


I filled 9 of them completely full with my soap mixture. Then I filled a one gallon glass jar half full with my soap and filled it the rest of the way with warm water.  This is the jar that I will be using first.  I even had enough soap to fill another 2 quart jar half full, top off with water, and give to a friend. 


I saw some cute labels on Pinterest for laundry soap, but I decided to make my own.  I'm a little obsessed with things having mustaches on them lately.  So I had to add a mustache to my labels.  Don't ask me what it has to do with laundry.  Except the fact that I wash a lot of clothes for little future mustache wearing men.


Then, because I didn't want to make labels again the next time I made soap, I got out my handy-dandy laminator.  I was really wishing for a punch the size of this circle I printed up.  
My perfectionist side was not happy with having to cut out these circles by hand. 
Did you know that it is impossible to cut out a perfectly even and smooth sided circle by hand.  
Well it is impossible for me.


I LOVE laminating things.  I remember helping my teacher with the huge laminators in grade school once.  It was love at first melt.


Before I put the lid on the jar of soap I would be using right away, I added a blend of essential oil drops to help it smell even yummier.  Remember though, essential oil smells will leach out when exposed to sunlight.  I plan to keep my soap hidden in a dark cupboard, so it's okay that I put it in a clear glass jar.


I added my label, and ta-da! A wonderful, inexpesive, yet hardworking jar of soap!


I sized the labels so they would fit under the ring of a wide mouth jar lid.  I figured I could put them either on top or taped to the side of the jar. 
I am not technologically gifted enough to figure out how to share these labels with you as a free printable, otherwise I would.
(Maybe one day I'll have one of my techie friends help me out with that.)


Here is all my soap - minus the gallon jar.  All these bottles are only half of what they will be.  When I take one off the shelf to use it, I will pour it in my gallon jar and double it with water.  
I can't even begin to calculate how many loads I've got sitting here! Or how cheap each load is!
But trust me, it's cheap! 


I will also wait to add essential oils until I open each one and use it. 


I guess the only problem with this soap recipe is having the space to store it all!  I think it's a fair trade for all the money I'm saving.


I put 1/2 cup for each load on my label, however there is no exact science to this.  Play with the measurement and see what works best in your machine.  I have a large capacity washer and I like to pack it FULL.  I read on a few other blogs that you can use as little as 1/4 cup in a front loading washing machine and up to 5/8 cup in a top loader.


I hope this inspires soap making in many of your households.  
Save your money for something fun.  


 Recipe Recap:
1 bar Fels-Naptha soap
1 cup Super Washing Soda
1 Cup Borax
4 cups water
a 5 gallon bucket
many storage containers


Pin It