I recently completed a book shelf makeover for my master bedroom remodel (which is still in progress, 3 weeks later). This particular book shelf was inherited from my MIL. It has currently been serving as Hunky Hubby's night stand.
It is a solid wood shelf with a laminate top.
Of course I forgot to take a good 'before' photo. However, you can make it out in the grainy photo below.
It was a nice sturdy shelf, but there was nothing remarkable about it. Essentially, it just didn't go along with our new look for our bedroom. So, it was time to make it over.
I began by sanding the laminate top slightly to rough it up.
Because of the top, I chose to use chalk paint on this project.
Chalk paint does a good job of adhering to just about any surface.
After two coats of paint on most areas, 3 on the top, I distressed the shelf with some sand paper. I wanted it to have a shabby chic look. Then, I sealed it all with a polyurethane finish.
I had used the wax that is usually recommended on chalk paint on a previous project. So far I am unimpressed with it. It seems to collect all the dust and dirt even after being buffed. I wanted a more durable finish on this shelf, so poly it is.
I do think that the poly slightly yellowed the paint color, even though it said it wasn't supposed to. It isn't enough that most people would really notice though.
I left the back of the shelf unpainted because I wanted to cover it with something decorative. However, I change my mind a lot so I also wanted it to be something that would be able to be removed. I decided to wrap some foam core boards that I had picked up at the dollar store with fabric. I measured the space at the back of the shelves and cut my boards accordingly.
For my fabric, I decided to up-cycle a cute scarf that was hanging in my closet. It had the right color scheme and pattern.
I wrapped each board in the fabric and used duct tape to secure it.
In hind sight, I would not use this type of fabric again simply because it was very stretchy.
When that was done, I used duct tape loops on the back of each board to adhere it to the back of the shelf.
I am really pleased with the final result. I know the fabric isn't completely straight (I blame that stretchy quality of the fabric I was talking about earlier), however because its the back of the shelf, I'm not really concerned about it. It will mostly be covered up.
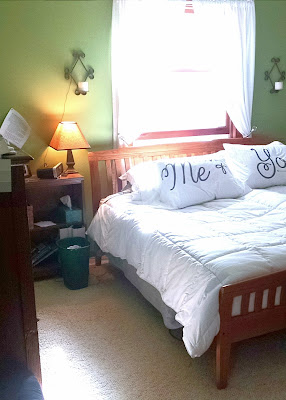
Here is a view of the shelf in our space, ready for use. I included all of the things my husband likes to keep on his bedside table. Even the ugly alarm clock. I get a little irritated when you see a great project in someone's space that is styled in a very unrealistic way. Everything in our home needs to first be functional and then be stylish.
This shelf is something that will be used daily. My husband needs his alarm clock, so it's a part of the shelf. However, I was able to hide the ever present kleenex box with a cute little wooden crate from TJ Maxx. The lamp is also from TJ Maxx. Everything else is either so old I don't remember where it came from or it's a personally made item. Like that cute little plane my son painted for his Daddy on Father's Day. Presh.
Hopefully this little project inspires you to make over a drab piece of furniture in your home. I enjoy giving new life to things. This tired wooden shelf now looks updated and fresh. Which is kinda funny considering I distressed it!


