Wednesday, October 23, 2013

Down Syndrome Awareness Month

October is Down Syndrome Awareness month.
To help raise awareness of this unique condition our family participated in the Fox Cities Down Syndrome Awareness Walk.
We walked on behalf of a family we know who assembled a team to support their daughter Lydia.


She is an adorable little girl with an inner joy that lights up her face.
She is also a fighter, full of sass and personality.
She had to be. It was a rough few months at the beginning of her precious life.
But nothing is holding her back.


The walk was hosted in Neenah Wisconsin. 
I am very impressed with how organized the event was and with all the fun activities they had for the kids to participate in.


The kids all had a blast in the bounce houses and on the bungee trampolines. We got there early and the kids were able to take a turn right away before the lines started.


 There was also face painting.  A couple of the girls painting faces were true artists that turned out some amazing designs.


We also got lunch for $2.00 a piece. They gave out a hamburger and a hot dog, chips, a cookie or two and a soda. All the food was donated by an area business.


As you can see there were also clowns who made some pretty impressive balloon hats.
All of the activities were free with your registration which with lunch and a t-shirt was only $7.00.
The kids had more fun than at the fair.


And even though the weather was drippy, there was no raining on this parade! 


My whole family plus my mom and dad, niece and nephews were a part of Team Lydibug, pictured above. 
We had a great time in the name of a great cause and through this event a large sum of money was raised to aid people who have Down Syndrome and their families.

One of the reasons we were interested in being involved in this activity was because as a family, we value life.  
People who find out that they are pregnant with a child who may have Down Syndrome are often encouraged to consider abortion as an option. 
We don't believe that a child with Down Syndrome is any less valuable than a child without that diagnosis.
We want to support the families who have chosen to believe in the beauty and the sanctity of life of these awesome children. 
With the proper love, care, and support, a person with Down Syndrome can grow to lead an independent and productive life. 

I would encourage you, if you feel that way too, to investigate your local area and see how you can participate in a similar event. Or maybe there is already something else close to your heart, see what's going on in your area and get involved! 


Pin It

Saturday, October 19, 2013

RIT Dye to the Rescue!

Unless you live under a rock, you know that it is football season in America.
Being Wisconsin Natives we root for the green and gold. 
The boys were given some Packer shirts by their daddy so they can be good little fans.


Doodle's came as a two for one deal with a long sleeve white shirt under a short sleeve green T.
Of course Doodle wants to wear them separately so he can have 2 packer shirts.
However white shirts and my six year old do not go together.
That is a combination like oil and water, 
or mustard and milk, 
or a Chicago Bear fan in Green Bay.
They just don't mix. 


Doodle snuck this shirt twice before I could do something about that white color. Both times he stained it. One of those times he never even left the house.
See that blue on the sleeve?
That's chalk.
After it was sprayed with stain spray and washed.
This kid has talent folks.
He takes after his momma in the stain department.


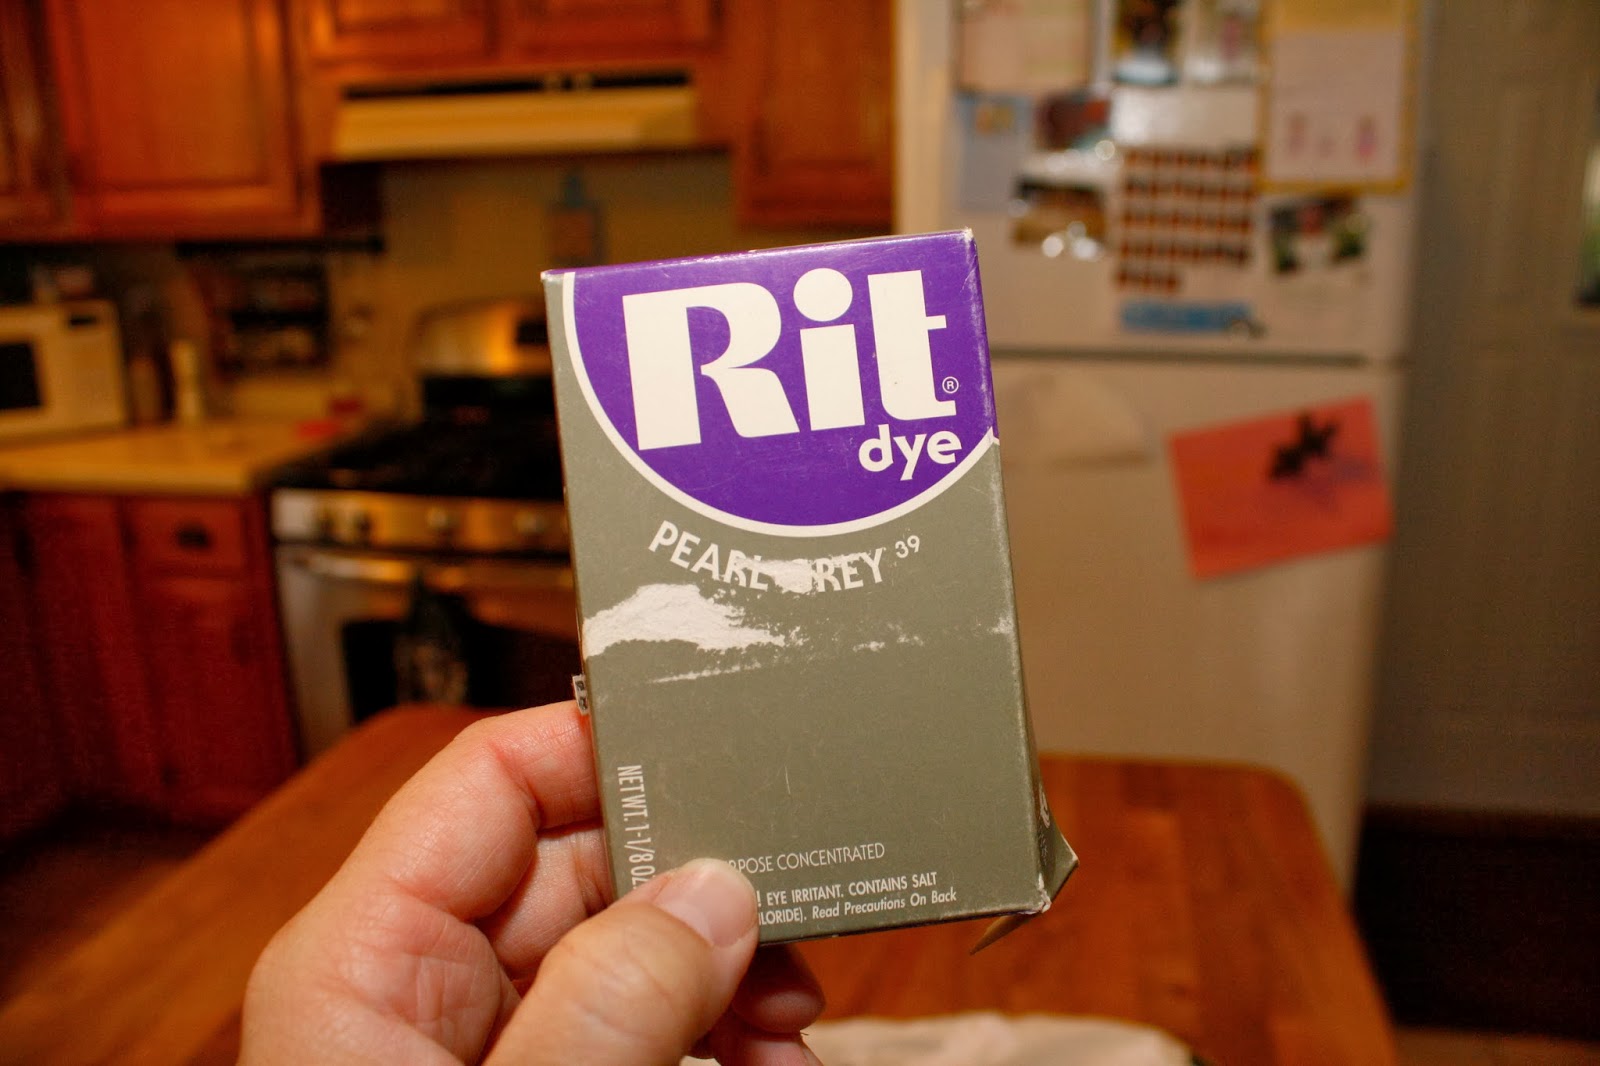
So I dug around in my newly cleaned and updated craft closet (a post about that will be coming soon) and found a box of RIT dye.
The color was perfect.
The day was right.


I've used RIT before with mixed results but have rarely had the patience to actually follow the directions exactly on the box.
I decided today would be different.


First you Dissolve the dye powder in 2 cups hot water.


Then, add 1 cup of salt.
I was a little short, but I used less water so I thought it would be okay.
See - I told you I can't follow directions exactly.


Rinse the shirt in warm water and wring out. 
Have your large pot of hot water ready with 1 TB of laundry detergent mixed in.


Add your shirt.
Look, it takes on color immediately! 


Now the hard part is that you are supposed to stir it constantly for as long as it takes to reach the desired color, up to a half hour.
I was afraid it would actually take a half hour of stirring, but it didn't. It only took a few minutes.
I wanted it to be a medium grey color so it wouldn't show the dirt easily but not too dark because I wanted the writing to  show up well.


When it looked about right, I took it out. I used rubber gloves so I could touch it but it was still really hot, so be careful!


After the dip in the pot you need to rinse the shirt in warm water until the water runs clear.  Then throw it in the wash on warm, and toss it in the dryer.
I was afraid that the shirt would lose a lot of color during the laundering process, but it didn't.
The color stayed pretty well.


The final product turned out well with color that was pretty uniform throughout the whole shirt. Plus, it is a much more kid friendly color now. All in all it was a quick and easy project. 
I used that same pot of dye to tint 3 more shirts, 2 of which were white shirts I had ruined in a batch of laundry with a faded red pair of pants. 
What was I thinking?
Well, thanks to RIT they have been redeemed. 
Which is good because one shirt belonged to my middle son and he wasn't too keen on wearing a pink robot shirt around.
You should know that as I dyed each shirt, they each turned out a little bit lighter in color. But I didn't want to let them sit in the dye bath for an extended period of time either. It didn't bother me that they turned out that way,  I wasn't trying to make them match. 


Doodle is pretty happy that he won't get in trouble for staining his white shirt anymore.
Now he can cheer for the home team with wild abandon.
Well, almost.


No, RIT did not compensate me in any way for this blog post. All opinions are my own.


Pin It

Wednesday, September 18, 2013

Mooches of Pooches

Some of you may not know that our family has expanded! 
That's right, we have adopted.

A dog.
Ha, ha, I fooled you!

This is Jinx.


She is a Yellow Lab with a huge floppy tongue and a massive appetite for fresh baked goods. 
No, really.
She has eaten to date: 16 banana muffins, 1 1/4 loaves of zucchini bread and a grilled PB & J sandwich. 
Other than that, she is sweet, playful, fairly intelligent and trainable. She also seems pretty loyal, and most of all, she likes me. 
She was found at camp hunkered down underneath a truck, looking exhausted.
One of the families at camp coaxed her out from under that ol' truck and gave her some fresh water and food. She bounced back to her enthusiastic self.
Without a collar or a micro chip, her original owner couldn't be found.
We decided to take her in.
We thought Annie might like a friend.


Well, turns out, Annie could care less.
At least most of the time.


I mean, another dog just means less attention and less treats for her, right?
Plus, she's an old dog.
A little stuck in her ways.
Not used to sharing all her boys.
Or her bed.


Besides, Jinx is one of those annoying dogs that likes to play and retrieve balls.
Annie doesn't have time for that.

In the long run though, I think the girls will get along just fine.
And maybe some of Annie's good behavior will rub off on Jinx. 
So that baked goods are once again safe being left out on the counter.


But that kind of discipline may take Jinx awhile to master.
Until then, we will enjoy having two dogs that are sweet and loving companions for our rowdy boys. One that cuddles and one that plays. 
But two that love being loved on.
It's a perfect relationship.


Pin It

Wednesday, September 11, 2013

It's Canning Season!

Yes, it's that time of year again.
The time of year when you are hauling in the abundance from the garden or the Farmer's Market and wondering what in the world you are going to do with it all.
If you are anything like me, you are also wondering how you will possibly get it all done before it spoils. Meanwhile continuing to take care of all of the other every day tasks that are calling for your attention.
You know, minor details like - the kids?
Or in our house, home schooling those kids?
Nothing major.
It's just their educational future at stake.


Anyway, a couple years ago I finally invested in a hot water canning pot and all the accessories.  Which all together probably came to less than $40. I'm pretty sure it has paid for itself already in the money I have saved in the food I was able to put up (that's preserving lingo).
Which results in not having to buy it at the store! Cha-ching!
Honestly, I was completely intimidated by the idea of canning.
I thought you had to do everything with a pressure cooker.
That piece of kitchen equipment scares me.  Too much steam and rattling and opportunity to blow up the kitchen.
Then I found out that there are many things you could preserve simply by putting them in a hot water bath.
I have already proven my kitchen prowess in boiling water, so I thought that I could handle this type of canning.
Turns out I was right.
All you need is a good recipe and the right supplies and hot water bath canning is easy-peasy!

Our family happens to love salsa, like many families do.  Did you know it's the 2nd most popular condiment in America?
Don't quote me on that or anything, I think I read it on face book.

I found this recipe on pancake-ninja.blogspot.com (follow the link to find the recipe)
It had all the necessary salsa ingredients with no weird add-ins.
It looked perfect.
Here is the process in pictures.
Because I like visuals.
And because I'm just nice like that.
You're welcome.


Dice your tomatoes and let them drain for a few hours or overnight


Next comes the peppers.  This year I used Anaheim peppers  because I got them for free from our friends garden. 
And because they taste good.  
They are sweet, not spicy.


I got smart and used my Pampered Chef food chopper to do all the hard work.  
Because we all know it doesn't matter what the salsa looks like, it's what it tastes like.


Dump those bad boys on top of the tomatoes.  


Next comes the onions.  
These were also free from my friends garden. 
Unfortunately, I was also crying my eyes out, even with using the food chopper. I haven't cried that hard since watching Tarzan. 
And yes, I mean the cartoon version. 


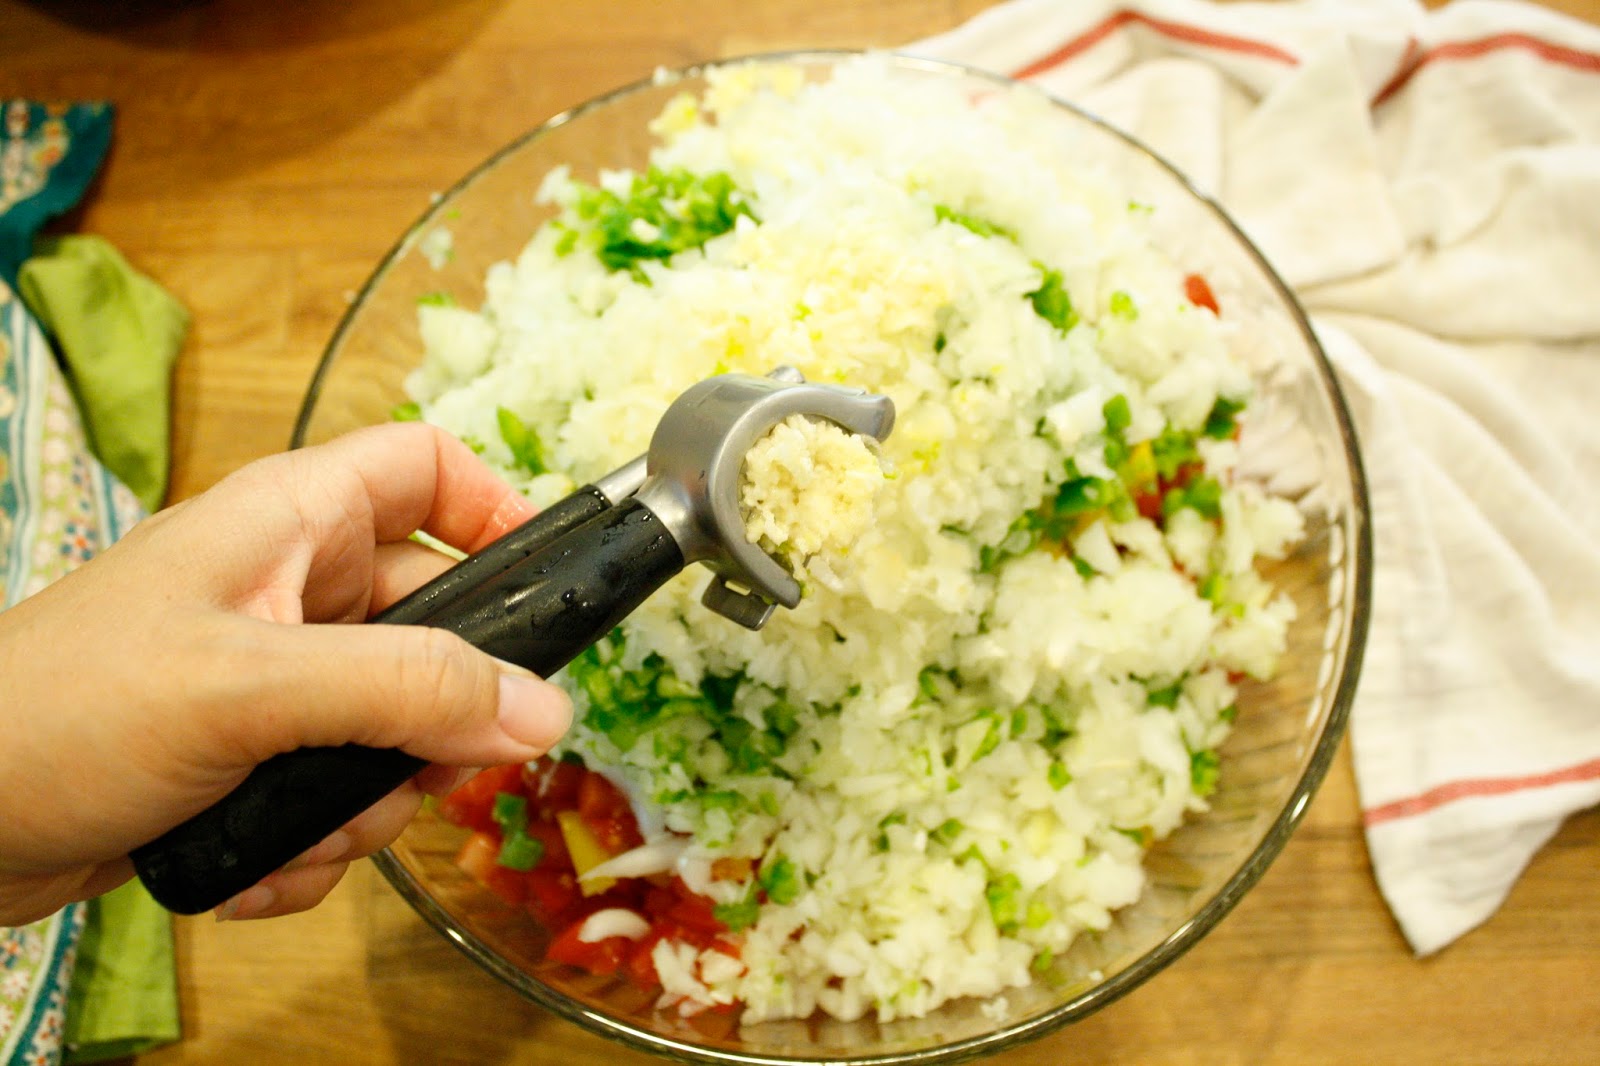
Next comes the garlic.  
I used my garlic press from IKEA to help me out.  If you wanted to, you could use the pre-minced garlic that comes in a jar.  
But I like it fresh. Mmmm.


Next, add a little sugar...


And a little salt.
I have never understood why you sugar something and then salt it.
It's perplexing.


Add a bit of cumin. 
Which just happens to be one of my favorite spices.


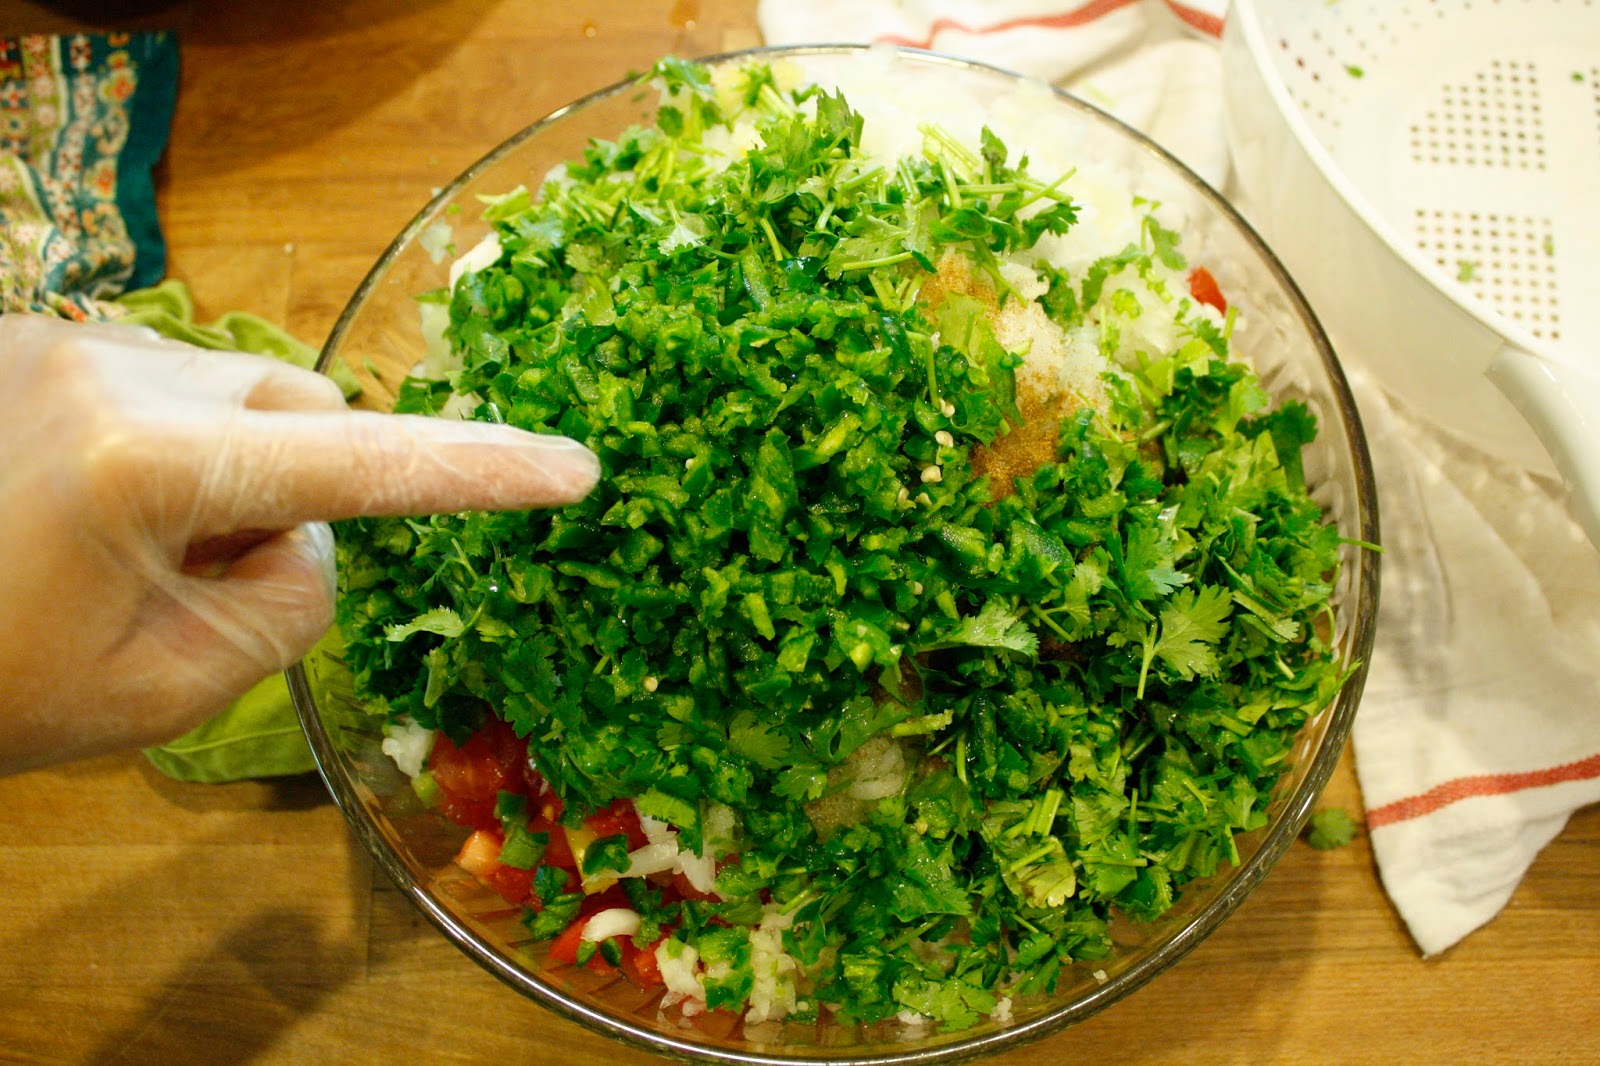
Then cilantro.
I always add a little extra.  
You can never have too much cilantro.
Never.


Finally, you have to add the jalapenos. 
I learned a good lesson last year. 
Now I always wear gloves when cutting up these hot peppers.
Jalapeno oils will leave your fingers burning for hours! 

Did I mention that you are going to need a big bowl?
You will need a big bowl.


My friend also had these cute little peppers growing outside her door.  I have no idea what they are, but I know they are hot because Hunky Hubby bit one and said it was hot.  H.H. never thinks it's hot. 
Which means these are actually small balls of inferno disguised as peppers. So I chopped all of these up and added them too a few jars of salsa to make Smokin' Hot Salsa!

 Just for Hunky Hubby.


Add a 12 oz can of tomato paste,


and stir it all together. 
Yum.


You will need some lemon juice.  Actually, a lot of lemon juice.
You can use fresh lemons if you are up for a lot of squeezing.  
I'm not. So the bottled stuff it is.


Add a few table spoons of lemon juice to the bottom of your jars,


Get out your handy-dandy canning funnel, 


and fill those bad boys up with that good stuff you just mixed up.


Make sure you get all the air pockets out of the jar.  You could use a butter knife for this, but this handy tool came with the canning kit I bought so I might as well use it.


Wipe the rims off with a damp towel. 
This is an important step so don't forget it like I sometimes do.


Put your presoaked lids on, 


add the rings, only tightening them finger tip tight. 
They need to be able to breathe a little bit.


Now you add them to your big ol' pot of boiling water.


After about 30 minutes you remove them and set them on a towel to cool down.  You should begin to hear some popping lids in a little bit. 
And there you have it! 
All the steps to canning your own salsa that is delicious and nutritious.
That wasn't so hard, was it? 
Enjoy!


 FRESH SALSA   
makes about 8 pints, (or can be done the easy refrigerator way)
ingredients:
  • 3 quarts tomatoes, chopped and left to drain in a colander several hours or overnight in a cool place;  the strained  juice can be poured off into a jar and seasoned --- tomato juice!
  • 3 large bell peppers, seeded and chopped
  • 4 large onions, chopped
  • 6 cloves garlic, chopped
  • 1/4 cup sugar or honey
  • 3 Tablespoons sea salt
  • 1/2 to 1 cup cilantro, chopped
  • 1 teaspoon ground cumin
  • 4 to 6 jalapenos, chopped, with seeds for added heat
  •   a 12 oz can of tomato paste

  • 6 to 7 lemons, juiced;  and more bottled lemon juice if you run out of juice; this is not  mixed into the other ingredients, but put into the jars before filling
         
          Mix well in a large bowl
          Prepare jars and lids
       
       
          1.for raw pack:
         measure 3 Tablespoons of lemon juice into prepared jars, then fill with mixture, leaving  1/2" headspace, wipe rims and cover with prepared lids and bands
          process in hot water bath for 30 to 40 minutes


Pin It