Sunday, December 15, 2013

The Story Tree

I love Christmas. 
Not only is it the celebration of my Saviors' birth, but it is merry and festive. 
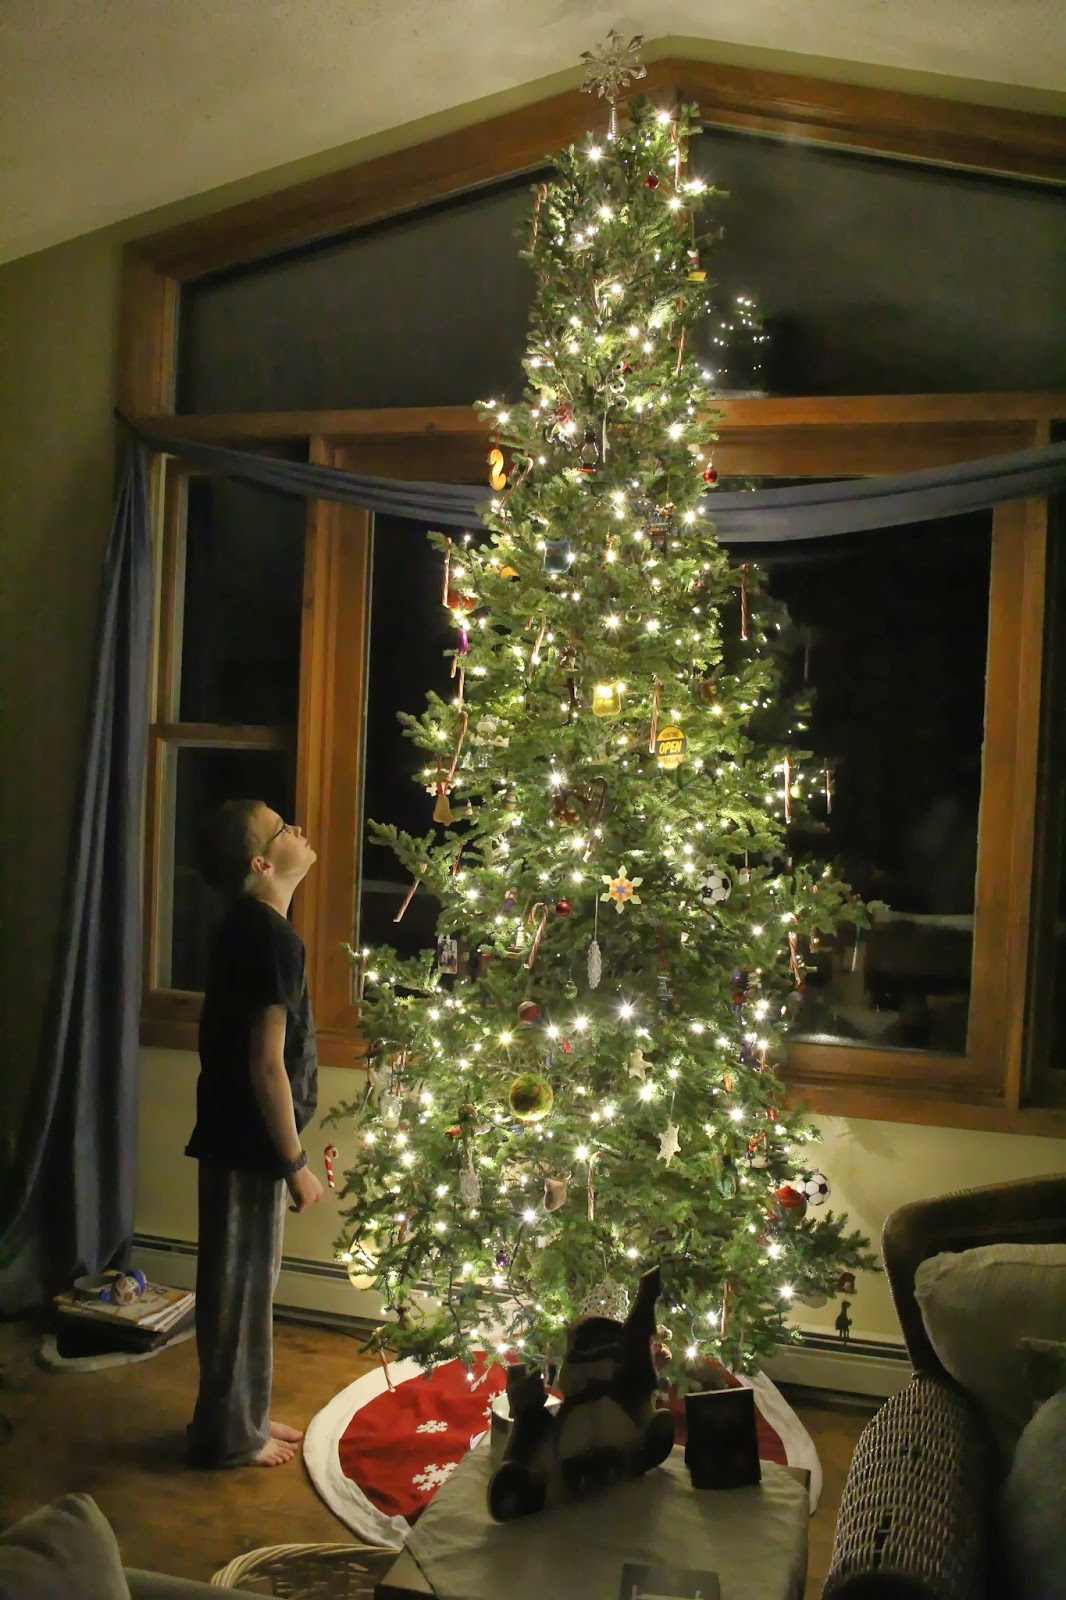
The lights, the food, the merriness in hearts, the colors, the smells, 
did I say the food? Mmmmm, it all goes together to create a wonderful atmosphere of anticipation and celebration! 
One of the things I enjoy doing in preparation for the holidays is decorating. 
Decorating the house for the Holiday has it's own set of traditions. One of our traditions centers around the Christmas tree. We typically go out into the woods to hunt for the perfect tree the weekend after Thanksgiving.  We drag it back home and set it up inside where we sip on mulled, hand pressed apple cider while listening to Frank Sinatra croon traditional Christmas Carols.  
It's good times people, good times. 
I have had many ideas about how the tree should be decorated over the years.  I mean with all my Pinteresting and the pictures that pop up in magazines, there is plenty of inspiration for a perfectly trimmed Tanenbaum. You've seen those perfectly decorated trees where the ornaments all color coordinate and the ribbon swirls around the tree just right.  Where it is so covered in ornaments and lights you can barely tell there is an evergreen tree underneath it all.  They are usually placed in the perfect corner of a spotless living room decorated with white furnishings. You just know that if that tree was real, it wouldn't dare drop a needle on the impeccable rug it has been placed on.  They are gorgeous!

Exhibit A:
photo courtesy of thelilypadcottage.com
All I have to say about those drool worthy residences is - they obviously don't have kids.  
Or a budget.
Of which, I have both.  Which is okay, because as pretty as those homes are, they would never survive our lifestyle and they wouldn't carry the meaning that our humble evergreen carries throughout the season for us. 
Besides that, where do they store all those decorations?  I have a lot of storage space but it is already pretty full. Or do they sell it all and start new the next year? Maybe they are the type who couldn't dream of decorating their tree the same way two years in a row?Hmmm, something to ponder.

Every year I buy a new Christmas ornament for each of my boys and one to keep for us.  Ideally these ornaments are chosen because they spark a memory of something significant that took place in each boys life that past year.  Sometimes, they aren't as meaningful but happen to be something the boys picked out themselves, which means it is something their 5, 7 or 9 year old self liked that year. 
Let me show you some examples:

 A couple years ago, around the time when the movie The Legend of GaHoole came out, the boys were really into owls.  So, I made them each a little owl ornament.


This little guy happens to be from a set that Hunky Hubby got for me one of our first Christmas's together. I believe we were living in Neenah, WI at the time.


This motorcycle rider was given to Seth.  He loved watching his daddy race dirt bikes. It reminds me of all the fun we had together attending the races, often with Uncle Ryan or Uncle Dan.


 This beauty was a gift from Ms. June.  She was Annie's original owner and she gave this to us as a thank you for watching Annie over the holidays one year. 


My mom gave this ornament to me when I was in college.  Little did she know I would still enjoy photography years later.


I found this one for Hunky Hubby this year.  It is perfect because the theme for the summer camp at SBR this year was Ship Wrecked.  He built a huge ship in the field to go along with the theme.  It was awesome, the best prop yet.


This pretty ornament was a gift from my mom when I believed that our family was complete with two boys. I am so glad I was wrong.  It reminds me of how small my vision for my life and future is compared to God's plan for me.


When Wyat was a baby, we called him our 'Little Moose'.  He was such a big boy.  I found this ornament for him to remember that time which is good since that nickname didn't stick. 


Tate was obsessed with dinosaurs for a couple of years. At 4 he could pronounce all their names and knew most of the facts about them.  He would correct his grandparents if they made mistakes while reading him Dino books. 


The first year that all the boys played soccer they each received this soccer ball ornament. 


These are just a few examples.   
Our tree, while it may not be perfectly decorated or color coordinated, tells a story. 
Our story. 
The memories that the ornaments represent are precious.


The stories get told over and over each year, cementing them in our sons minds, creating tradition and a sense of  reverence. 
It is the stories that bind us together as a family. 

And because of that, our tree is the most beautiful of all.  


Pin It

Friday, November 22, 2013

Book Review: Raising Boys By Design


Raising Boys By Design
What the Bible and brain science reveal about what your son needs to thrive
by: Gregory L. Jantz, PhD
and Michael Gurian


As a stay at home, home schooling mother of boys, I need all the help I can get raising the little blessings that God has blessed me with. 


Being a woman, trying to raise Godly young men has it's own set of challenges.  I don't 'get' boys.  
Fortunately, H.H. is a great dad and parenting partner.
He does 'get' boys, obviously, and helps me out as much as he can.

I have read a few books over the years to help me understand H.H., and many of those principles apply to my boys.  
However, in my role of home schooling mom, I often feel like I have been beating my head against a brick wall so to speak in a few areas. Ladies, I am surrounded by boys 
all
the
time.
I love my sons and desperately want to do better by them than just keeping them alive until the day they move out.  Although some days, that seems like a very worthy and high achieving accomplishment.
 Can I get an 'Amen'?
So, when the opportunity came to get a free book about the very topic that my life is immersed in, I jumped at the chance to read it.  
Thank you very much Blogging for Books and Waterbrook, Multnomah Publishing. 
I absolutely love the cover art for this book. It is definitely a scene that has been witnessed in my house.  It also captures the joy and unbridled freedom and lack of inhibitions in the heart of a boy.
The title of this book also immediately appealed to me. Knowing that good things rarely happen by chance, but develop more out of intentional actions, I am interested in any tool available that will help me build good Christian character in my sons. Although the Bible is the best source for this guidance, I also look to professionals who have studied far more than I have, to provide some additional guidance. Initially, I was actually slightly put off by the psychological and scientific information that this book is based on. I have not previously heard of either of these authors, and as a Christian I am very leery of both of these professions. However, as I read the book, I was reassured over and over that these two authors genuinely seek to build up Godly young  men based on Biblical principles, not worldly mandates. Often times the authors made sure to stress that the science behind the way boys tick, lines up with Biblical truths. They even took a firm perspective against some popular secular psychological and scientific beliefs that contradict Biblical ideals.
I really appreciate the topics that the authors highlight in the book. They covered topics such as differences between boys vs. girls, the importance and difference in maternal and paternal influence, building a HERO, character and self-discipline, emotional health, sexuality, school, technology, Christian manhood, and rites of passage. Thoughtful questions and prompts towards action accompany each chapter.
I can see that this book highlights some of the most important aspects of developing an emotionally healthy, strong, young Christian man. As a stay at home mom who has the most hours of influence raising my boys, it gives me some guidelines on how I can intentionally influence my sons toward these good goals.
Although the text is a little on the dry side, I think it stems from the authors wanting to impart as much knowledge and fact as possible into the pages.  It is not a hard read, and it is packed with information and clearly written. It is my opinion that the information within the book is valuable and worth the time spent reading it.
In this current day and age where men and boys are often belittled, dumbed down by the media, or only admired for any feminine attributes they may display, it is great to have a book that is helping parents to challenge their boys to become Godly young men.  Strong, courageous, gentle and kind.
Men who can be leaders and champions. 
I am looking forward to using some of the tools in this book to help my sons become the hero's that God designed them to be. 
I can see this book being a part of my resource shelf for a very long time.


Did you like this review? Could you do me a favor and follow this link to rate my review? Thanks! Pin It

Tuesday, November 5, 2013

Upcycled Vintage Cabinet

I want to share a recent project with you that I am really excited about. Please excuse the i-pad photo's.  It's what I had with me. 

                         Here's the upcycled vintage cabinet.


I am so pleased with how it turned out. One of the things I like best about it is that it was a collaborative effort with Hunky Hubby. I conned convinced him into helping me completely renovate this cabinet.
Here is a shot of the before:


This little cabinet had a bit of a 70's vibe going on.  The cabinet door fronts and spindles screamed outdated.  I could have thrown a coat of white paint on it and that alone would have improved it's look.  However I had bigger ambitions for this piece of furniture. 

I really love the rustic and shabby chic look.  I don't know what it is.  I kind of have a thing for antiques and vintage items.  Not all vintage items, but some.  
I had a purpose for this cabinet that fueled my design. I needed a cabinet to put in a local store to display some of my kitschy crafty notions for sale. 
So I tried to share my vision with H.H. and together we transformed this dated beast into a lovely and eye catching piece of furniture. 
Here's a little break down of what happened:


Hunky hubby replaced those ugly spindles with a new original design.  We also increased the space between the cabinet and the shelf.  I gave the original cabinet a coat or three of paint and distressed it. H.H. built a base for the cabinet to sit on so it no longer hugged the floor.


H.H. found some old galvanized steel roofing material to use as a back for the whole piece.  Then we found some cast off pieces of wood from the wood shop at camp and recovered the top of that cabinet. I chose a herringbone pattern that looks really nice with the different colors and tones of wood.  


To add a little color and texture and an element of surprise I modge-podged some chevron scrapbook paper into the top shelf. If you look closely you may see the old burlap coffee sacks that were modge-podged onto the sides of the interior of the bottom cabinet. We also built the super cute bins you see on the bottom shelf. 


I needed hooks to be able to display the hooded towels that I make.  I wanted something creative and more importantly cheap.  Well, most importantly, it had to go along with the 'look' of the whole piece.  So I hopped over to the local thrift store and bought some forks. Yep, forks.  I hammered them straight and bent them up.  I love the look and the element they add.  


I have no idea if any of my crafts will sell. Building this cabinet with H.H. was so much fun, I don't really care. It gave me a great excuse to make an awesome piece of furniture and I couldn't have done it without my husbands' expertise.  I know there are a lot of women who can use power tools all by themselves, but I don't want to be one of them!  I love to have an excuse to work alongside my man. 


If you happen to be in the local area, pop into Natural Living and check out the cabinet for yourself.  You'll probably love it as much as I do.  It's one of a kind!


Pin It

Monday, October 28, 2013

Super Delicious Pumpkin Bars

Fall, glorious fall! 
Oh how I love thee! 
Your crisp air, 
your vibrant colors,
your scents, 
your sounds, 
your flavors!

Especially pumpkin!
Although I have never been able to stomach pumpkin pie. 
It isn't the flavor, it's the texture. 
3 bites in and I'm gagging. 
However I love almost all other baked goods that have pumpkin as the main ingredient.


I wouldn't be a good friend if I didn't share one of my favorite pumpkin recipes with you.
These pumpkin bars are moist, flavorful, and AMAZING!
They are easy to make, easy to bake and easy to make disappear off the plate! 


The recipe come from a popular cook book, 
Betty Crocker's Cookbook.
Pumpkin-Spice Bars:

4 lg eggs
2 C - sugar
1 C - vegetable oil
1 can pumpkin
2 C - all purpose flour
2 tsp - baking powder
2 tsp - ground cinnamon
1 tsp - baking soda
1/2 tsp - salt
1/2 tsp - ground ginger
1/4 tsp - ground cloves

* Pre-heat oven to 350 degrees
Lightly grease the bottom and sides of a jelly roll pan, 15 1/2 x 10 1/2 x 1 inch, with shortening.

* Beat eggs, sugar, oil and pumpkin in a large bowl until smooth. Stir in flour, baking powder, cinnamon, baking soda, salt, ginger and cloves. Spread in pan.

* Bake 25 to 30 minutes or until light brown. Cool completely and frost with cream cheese frosting. 
Sprinkle with walnuts if you like. 

Cream Cheese Frosting:

6 oz of cream cheese
1/3 cup butter
1 tsp vanilla
2 cups powdered sugar

*Soften the butter and cream cheese. Beat with the vanilla until smooth.  Add in the powdered sugar and beat on low speed until creamy.


Make some today, trust me, you will be glad you did.
Happy baking!

What is your favorite fall recipe?
Share it in the comments section below.


Pin It

Wednesday, October 23, 2013

Down Syndrome Awareness Month

October is Down Syndrome Awareness month.
To help raise awareness of this unique condition our family participated in the Fox Cities Down Syndrome Awareness Walk.
We walked on behalf of a family we know who assembled a team to support their daughter Lydia.


She is an adorable little girl with an inner joy that lights up her face.
She is also a fighter, full of sass and personality.
She had to be. It was a rough few months at the beginning of her precious life.
But nothing is holding her back.


The walk was hosted in Neenah Wisconsin. 
I am very impressed with how organized the event was and with all the fun activities they had for the kids to participate in.


The kids all had a blast in the bounce houses and on the bungee trampolines. We got there early and the kids were able to take a turn right away before the lines started.


 There was also face painting.  A couple of the girls painting faces were true artists that turned out some amazing designs.


We also got lunch for $2.00 a piece. They gave out a hamburger and a hot dog, chips, a cookie or two and a soda. All the food was donated by an area business.


As you can see there were also clowns who made some pretty impressive balloon hats.
All of the activities were free with your registration which with lunch and a t-shirt was only $7.00.
The kids had more fun than at the fair.


And even though the weather was drippy, there was no raining on this parade! 


My whole family plus my mom and dad, niece and nephews were a part of Team Lydibug, pictured above. 
We had a great time in the name of a great cause and through this event a large sum of money was raised to aid people who have Down Syndrome and their families.

One of the reasons we were interested in being involved in this activity was because as a family, we value life.  
People who find out that they are pregnant with a child who may have Down Syndrome are often encouraged to consider abortion as an option. 
We don't believe that a child with Down Syndrome is any less valuable than a child without that diagnosis.
We want to support the families who have chosen to believe in the beauty and the sanctity of life of these awesome children. 
With the proper love, care, and support, a person with Down Syndrome can grow to lead an independent and productive life. 

I would encourage you, if you feel that way too, to investigate your local area and see how you can participate in a similar event. Or maybe there is already something else close to your heart, see what's going on in your area and get involved! 


Pin It

Saturday, October 19, 2013

RIT Dye to the Rescue!

Unless you live under a rock, you know that it is football season in America.
Being Wisconsin Natives we root for the green and gold. 
The boys were given some Packer shirts by their daddy so they can be good little fans.


Doodle's came as a two for one deal with a long sleeve white shirt under a short sleeve green T.
Of course Doodle wants to wear them separately so he can have 2 packer shirts.
However white shirts and my six year old do not go together.
That is a combination like oil and water, 
or mustard and milk, 
or a Chicago Bear fan in Green Bay.
They just don't mix. 


Doodle snuck this shirt twice before I could do something about that white color. Both times he stained it. One of those times he never even left the house.
See that blue on the sleeve?
That's chalk.
After it was sprayed with stain spray and washed.
This kid has talent folks.
He takes after his momma in the stain department.


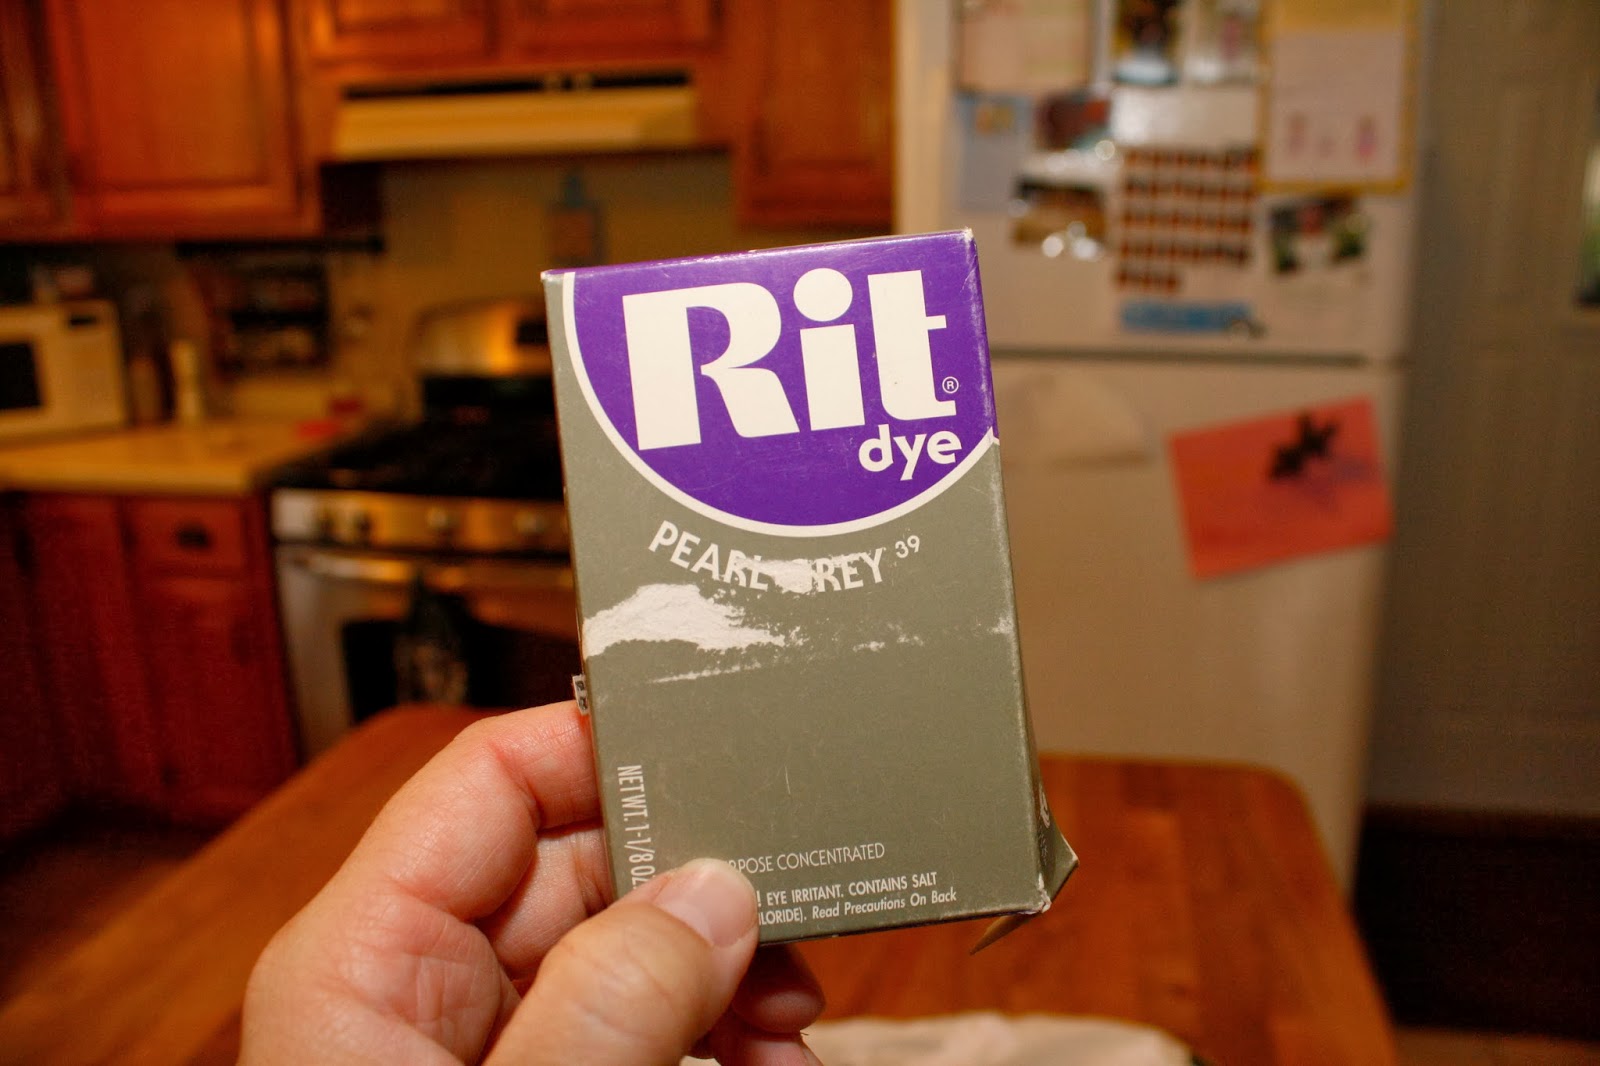
So I dug around in my newly cleaned and updated craft closet (a post about that will be coming soon) and found a box of RIT dye.
The color was perfect.
The day was right.


I've used RIT before with mixed results but have rarely had the patience to actually follow the directions exactly on the box.
I decided today would be different.


First you Dissolve the dye powder in 2 cups hot water.


Then, add 1 cup of salt.
I was a little short, but I used less water so I thought it would be okay.
See - I told you I can't follow directions exactly.


Rinse the shirt in warm water and wring out. 
Have your large pot of hot water ready with 1 TB of laundry detergent mixed in.


Add your shirt.
Look, it takes on color immediately! 


Now the hard part is that you are supposed to stir it constantly for as long as it takes to reach the desired color, up to a half hour.
I was afraid it would actually take a half hour of stirring, but it didn't. It only took a few minutes.
I wanted it to be a medium grey color so it wouldn't show the dirt easily but not too dark because I wanted the writing to  show up well.


When it looked about right, I took it out. I used rubber gloves so I could touch it but it was still really hot, so be careful!


After the dip in the pot you need to rinse the shirt in warm water until the water runs clear.  Then throw it in the wash on warm, and toss it in the dryer.
I was afraid that the shirt would lose a lot of color during the laundering process, but it didn't.
The color stayed pretty well.


The final product turned out well with color that was pretty uniform throughout the whole shirt. Plus, it is a much more kid friendly color now. All in all it was a quick and easy project. 
I used that same pot of dye to tint 3 more shirts, 2 of which were white shirts I had ruined in a batch of laundry with a faded red pair of pants. 
What was I thinking?
Well, thanks to RIT they have been redeemed. 
Which is good because one shirt belonged to my middle son and he wasn't too keen on wearing a pink robot shirt around.
You should know that as I dyed each shirt, they each turned out a little bit lighter in color. But I didn't want to let them sit in the dye bath for an extended period of time either. It didn't bother me that they turned out that way,  I wasn't trying to make them match. 


Doodle is pretty happy that he won't get in trouble for staining his white shirt anymore.
Now he can cheer for the home team with wild abandon.
Well, almost.


No, RIT did not compensate me in any way for this blog post. All opinions are my own.


Pin It