O.k., I'm about to step out on a limb here and attempt my first ever tutorial.
What I would like to attempt to share with you, is how to make a hooded towel. These towels are great to give for baby gifts, as a gift for a first birthday, or if made with a generously sized hood, you can give them as a gift to an older child. My sons have used these all the way up to 7 and 8 years of age. They love them! (beware - hooded towels may result in naked children running through the house with their 'capes' flapping behind them)
I received my first hooded towel as a baby gift from my cousin when I was pregnant with my first son.
Since then, I have started making them for just about everyone I know who is having a baby because we have loved them so much. They are so much better than those thin towels they market and sell for babies on the shelves at your local department store. I am a firm believer in 'if you love something, others might love it too, so share it!'
Here is what you will need to get started:
1 bath towel
1 hand towel in a matching/coordinating color
sewing machine & thread
ribbon
A rotary cutter, ruler and cutting mat
Scissors
seam ripper (just in case)
I typically get my towels from Target, but any good quality towels will do.
First, I like to sew the dart in the back of the bath towel:
To do that you fold the bath towel in half with the tag side on the outside.
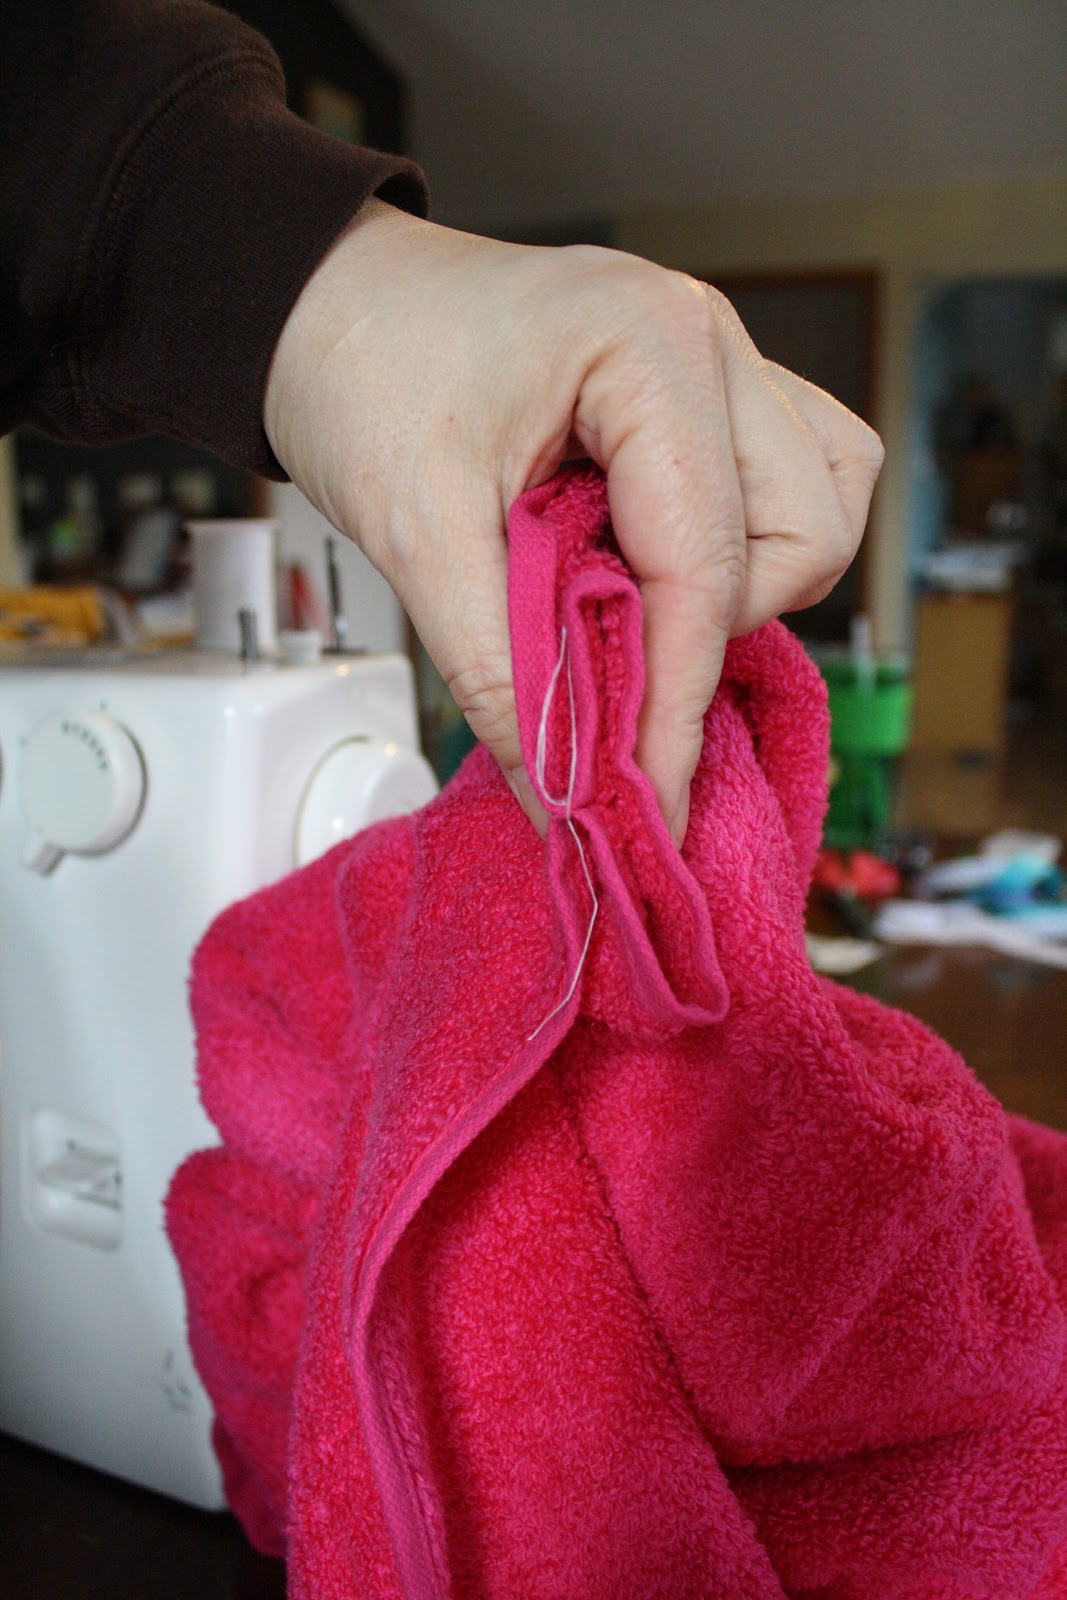
Line up the edges and grab the towel at the center fold. You are going to sew a line from the top edge of the towel, parallel to the fold, about 2" away from the fold. Sew a straight line approx. 3 " long being sure to back tack at the end.
So it should look like this when you are done:
Then you are going to take the flap you have created and smoosh it flat. So unfold the towel, take the flap, and evenly flatten it along either side of the crease you made:
See? Just like that. Then you will want to sew that down along the edge of the towel. This will keep it from shifting when you are sewing the hood on.
Got it?
Yay! - this is what it looks like when you are done!
Clip those nasty threads off please!
Here is the finished portion of the bath towel.
See the nice pleat you've just created?
Now we move on to the hood. We are making a generous sized hood so that this towel can be used for babies all the way through young children. If you want to make a smaller hood you could actually make two hoods out of one hand towel. Just cut it in half and use each half to make a hood.
But today we are using the hand towel to make one hood, so you will need to cut a portion of your hand towel off. I used my sons head to measure how long I wanted the hood to be, basically I want the hood to nearly touch his shoulders. That means I cut off about 5" off the end of my towel.
In order to be able to have both sides match and be able to sew more easily, I cut the bulky finished edge off of the other side.
Now you will take the finished edge on one side of the towel and fold it over about 2". Make sure you look at your towel and decipher if there is a 'right' side and a 'wrong' side. When you get your towel and hood sewn together you don't want it looking funky because you sewed one of them inside out.
In this step you are basically folding the towel so that the 'wrong' side is overlapping the 'right' side.
You are going to sew this down now. What I do is eyeball it to keep it straight all the way down and then I sew a straight line right next to that finished edge of the towel, on the double thick side of course. If you are no good at eyeballing, then go ahead and measure and pin this folded piece to keep it nice and even.
I like to embellish my hooded towels. This is for cuteness factor only, it has nothing to do with function. Although it in no way inhibits the function of the towel.
So get out some coordinating ribbon, cut it just longer than the length of the towel and sew it on. Depending how thick the ribbon is, I will either simply sew it down the center, or I will sew it down along both sides.
When you are done it will look like this:
Next comes the tricksy part: the tuck in the back of the hood.
Fold your hood in half with the 'right' sides together.
Along the fold, toward the back of the hood you are going to tuck the fold down in between the sides of the hood making a M shape with the towel. I find that this is easiest to do if I have the folded hood laying flat on the table in front of me. Then I can grab the edge of the fold with my finger and pull it down sandwiching it between the sides of the towel. Make sense? This is the hardest part, but the most important.
Keeping things together, stick that end in your sewing machine and about 2 1/2" from the edge, sew a straight line all the way from the top to the bottom. You want the hood deep enough for baby's head to fit inside comfortably with some space for growing.
See?
Now go ahead and cut the excess fabric off after your straight sewn line. Leave about 1/4 to a 1/2 inch.
Here is your finished hood. You can adjust the size as needed.
This is what the back tuck in the hood should look like when you have finished it properly. This is the key to the function of this hood. I like how it fits so much better than other hood styles I have seen.
Placing both of the 'right' sides together, match the raw edge side of the hood with the top of the bath towel where you sewed the pleat. I like to match the center seam of the hood with the center seam of the pleat. Here is where pinning could come in handy.
Now you are going to sew the hood onto the towel! Make sure to back tack at the beginning and end! You are going to be sewing through a lot of bulk in the center of this towel. Be sure to go slowly. I have broken more than one needle while doing this step. I use about a 1/2" seam allowance while I'm sewing. I try and get as close to the finished edge of the bath towel as I can (while not being able to see it). When you are done sewing check and make sure you caught both towels the whole way, you don't want any open spots.
With that, you should be done!
Wyat agreed to model the finished product for me, even though the towel is pink.
A girl color.
Which he was not thrilled about.
But he still did it for me.
Tate didn't have a problem modeling the purple towel.
Apparently, that's a boy or girl color.
Seth flat out refused to have a pink towel touch his head!
Boys!
I hope the tutorial was clear enough and had enough pictures to make it easy to follow. I'd love to hear your comments on what I could improve if you try this tutorial out. I'd also love to see a picture of your finished product!
I hope you are able to sew many hooded towels for the babies and toddlers in your life. The naked super hero's running through the house make up for all the hard work.
Thanks for stopping by!