
Everyone likes to save a buck right?
Especially on things that aren't exactly 'fun' to buy.
Things like toilet paper and laundry soap definitely don't qualify as 'fun' purchases in my book.
I haven't learned how to make my own toilet paper yet, but I have learned a really cost effective way to make laundry soap.

A good friend shared this recipe with me a couple of years ago.
I have made it in the powder and the liquid version. Although I liked the powdered version, I've gotten a new washing machine since the last time I made it. (It's been a long time since I've made laundry detergent)
I wanted to use a liquid this time and I wanted it thin enough to work well in my machine. Like most new machines, mine is HE labeled. This soap meets the HE standards.
I already had all the ingredients in the laundry room. Apparently they have a long shelf life. I was also running low on the store bought detergent I'd been using. This offered me the perfect opportunity to make some more detergent. It isn't hard, but it does take a little time, and some waiting. The only unusual item you may not have on hand is a large bucket. Oh, and enough storage containers to hold all your amazing soap! You will have to plan ahead so you have enough of those. You can use any recycled containers that you have on hand.
I know there are other tutorials out on the internet for this, but I thought I'd go ahead and share my method with you. This is very cost efficient. It is also gentle on your skin. It should be safe enough for babies, but try it sparingly first. Plus, it cleans well.
You only need 4 ingredients if you count water.
They are Borax, Super Washing Soda, and Fels-Naptha bar soap. You should be able to get all these ingredients all totaled for around $6.00 at your local grocery or Wal-mart stores. Plus, there will be enough Borax and Super Washing Soda to make many more batches of detergent.

This is what Fels-Naptha looks like.
I love the smell of this stuff.

I also love the look of the bar once you unwrap it.

Okay, your first step is to grate the bar of soap. Now you can do it by hand like I did, or you can take your food processor and use that. Whichever you prefer.


Then you take 4 cups of warm tap water and the grated soap and put them in a pan on the stove.


Make sure you keep stirring it as it cooks on medium heat on the stove. Your goal is to melt the soap, you're not trying to boil it.
Look! Almost done!
Once the soap flakes are all melted, you will pour the mixture into your five gallon bucket.

Now measure out 1 cup of Borax,
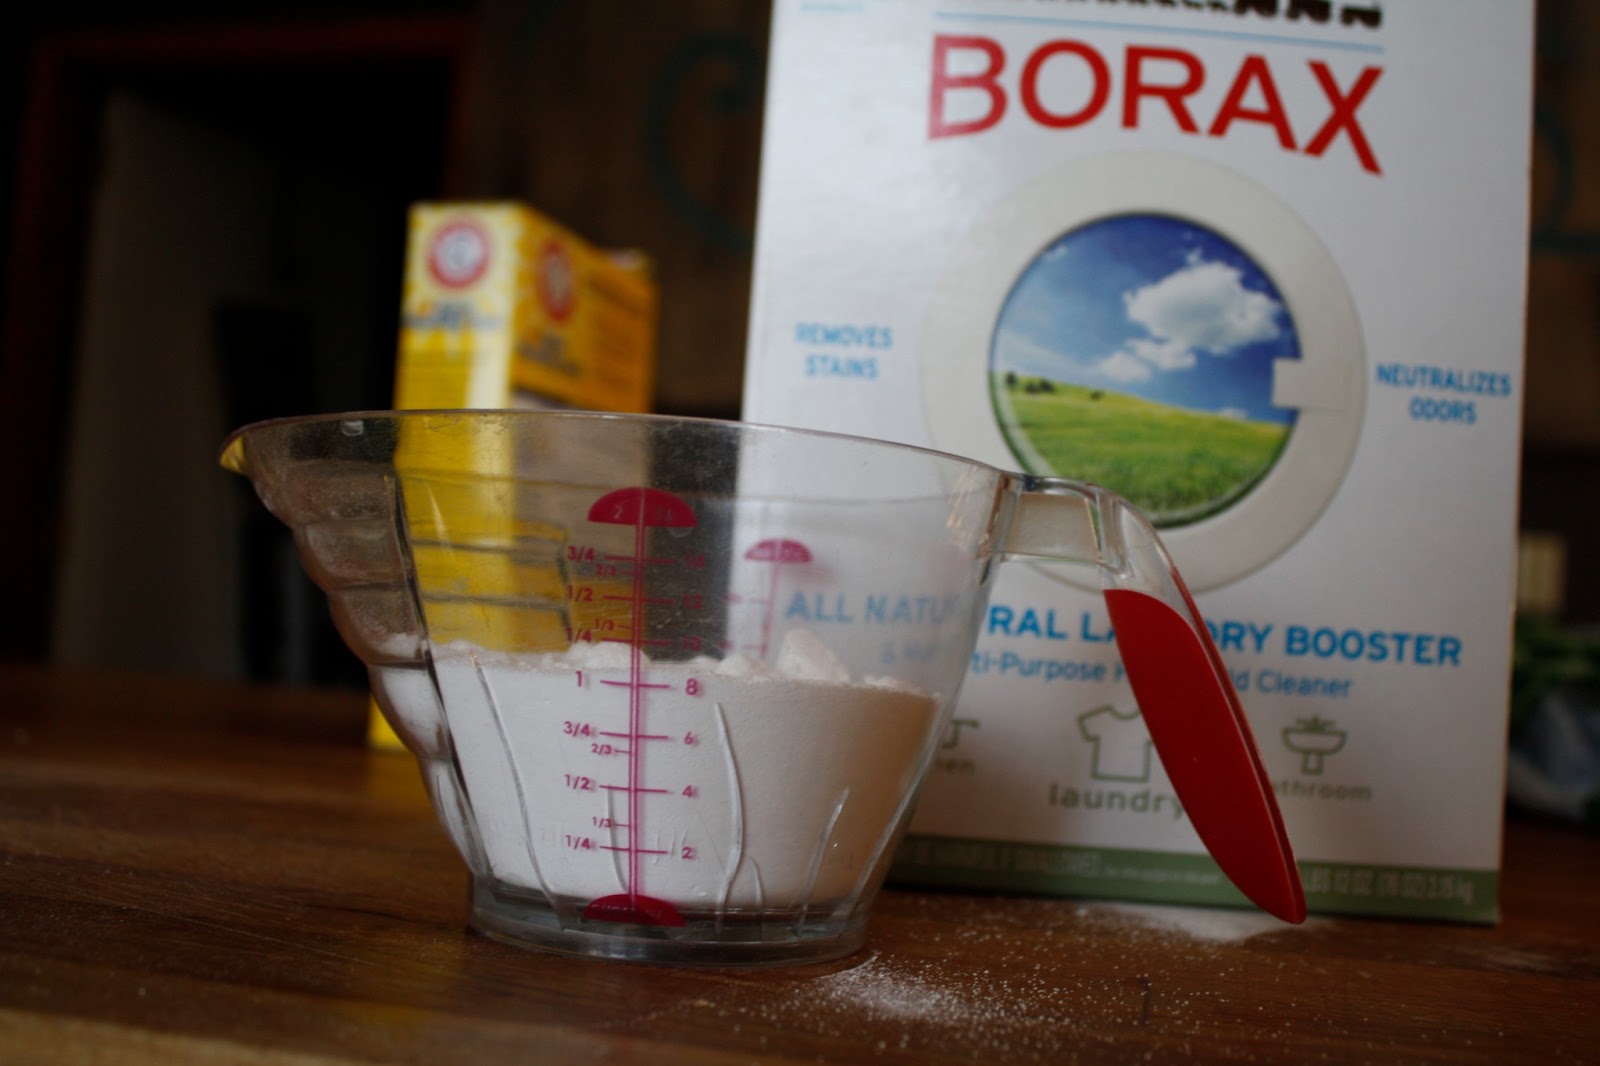
and 1 cup of Super Washing Soda.
I put mine in the same measuring cup at the same time.

Add them to the soap in the bucket.

Now, fill your bucket half full with more warm tap water. You want it to be warm so that it dissolves the powders you just added. Stir it up until you think that everything has turned into a liquid.

I suggest moving your bucket to where you are going to let it sit, before you fill it the rest of the way with warm water. A five gallon bucket full of liquid is pretty heavy and awkward to move. You do not want to spill this bucket all over your floor in a moving disaster. Although, it would probably clean your floor nicely.

Find a lid to cover your bucket with. Even a towel will work. You just want to keep it from getting any schmutz in it as it sits.
Now comes the hard part. You need to let your bucket sit overnight and up to 24 hours.

When you take your lid off the next day. you will be able to see that things have changed. It will really become apparent to you when you when you go to stir it. It has changed from a thin liquid to a gelatinous glob.
Don't you just love the word gelatinous?
I do.

You are now going to stir your gelatinous goo. I used a long handled spoon. It was not long enough.
I still had to dig my hand into my soap.

My spoon stirring did not break up the goo completely, so I got out my handy-dandy mixer to help me out. I mixed with one hand and stirred with the other and eventually I broke up all that goo into a slightly curdled looking liquid.

Now is when you need all of those storage containers that you have collected. I happened to have quite a few large mason jars. These are about a 2 quart size.

I filled 9 of them completely full with my soap mixture. Then I filled a one gallon glass jar half full with my soap and filled it the rest of the way with warm water. This is the jar that I will be using first. I even had enough soap to fill another 2 quart jar half full, top off with water, and give to a friend.

I saw some cute labels on Pinterest for laundry soap, but I decided to make my own. I'm a little obsessed with things having mustaches on them lately. So I had to add a mustache to my labels. Don't ask me what it has to do with laundry. Except the fact that I wash a lot of clothes for little future mustache wearing men.

Then, because I didn't want to make labels again the next time I made soap, I got out my handy-dandy laminator. I was really wishing for a punch the size of this circle I printed up.
My perfectionist side was not happy with having to cut out these circles by hand.
Did you know that it is impossible to cut out a perfectly even and smooth sided circle by hand.
Well it is impossible for me.

I LOVE laminating things. I remember helping my teacher with the huge laminators in grade school once. It was love at first melt.

Before I put the lid on the jar of soap I would be using right away, I added a blend of essential oil drops to help it smell even yummier. Remember though, essential oil smells will leach out when exposed to sunlight. I plan to keep my soap hidden in a dark cupboard, so it's okay that I put it in a clear glass jar.

I added my label, and ta-da! A wonderful, inexpesive, yet hardworking jar of soap!

I sized the labels so they would fit under the ring of a wide mouth jar lid. I figured I could put them either on top or taped to the side of the jar.
I am not technologically gifted enough to figure out how to share these labels with you as a free printable, otherwise I would.
(Maybe one day I'll have one of my techie friends help me out with that.)

Here is all my soap - minus the gallon jar. All these bottles are only half of what they will be. When I take one off the shelf to use it, I will pour it in my gallon jar and double it with water.
I can't even begin to calculate how many loads I've got sitting here! Or how cheap each load is!
But trust me, it's cheap!

I will also wait to add essential oils until I open each one and use it.

I guess the only problem with this soap recipe is having the space to store it all! I think it's a fair trade for all the money I'm saving.
I put 1/2 cup for each load on my label, however there is no exact science to this. Play with the measurement and see what works best in your machine. I have a large capacity washer and I like to pack it FULL. I read on a few other blogs that you can use as little as 1/4 cup in a front loading washing machine and up to 5/8 cup in a top loader.
I hope this inspires soap making in many of your households.
Save your money for something fun.
1 bar Fels-Naptha soap
1 cup Super Washing Soda
1 Cup Borax
4 cups water
a 5 gallon bucket
many storage containers

2 comments:
So, would it be a huge pain to just store it in the 5 gallon bucket? I'm not artsy enough to do tags. ;)
You can definitely store it in the bucket if that's more convenient for you. I would suggest having a lid on it though!
Post a Comment