
The first one is hair chalking. What's that you say? Well, it's a really simple and easy way to put temporary colors on the ends of your hair. I've seen some pictures of permanent hair colors and I like the look but didn't want to make that kind of commitment. I feel a little too old to be sporting colorful hair full time. But, to have some colors for a day? Sure! Sign me up.
I used regular chalk yesterday because I didn't take the time to look into what kind of chalk you should really use. You should use pastel chalk which can be found in the artist department of a crafts store. My regular old chalk turned out OK but not as vibrant as I would have liked.
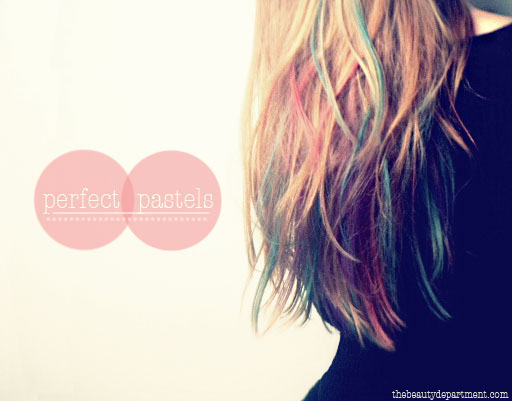
I found really good and clearly written information on this website The Beauty Department. You can click on the link and it should take you directly to the blog post. Now I am better informed for next time I chalk my hair, because there will be a next time.

Here's how my hair turned out. Like I said, I used regular chalk which was not as vivid. Also, I was going to wear a black sweater that day but I noticed that as the chalk dried it did leave chalk dust behind. So I switched to grey. It didn't ruin my clothes or anything like that.

I had my son Tate take the pictures for me. He did a pretty good job don't you think?
I can't wait to get my hands on the right kind of chalk. I definitely want to try this again. Next time I want to try and see if I can keep the colored strands pieced together more. That way they would stand out a little bit better. I think this look is fun and not too over the top. I saw some pictures of hair that had been chalked in an up-do or braid and that looked pretty cool too.
 |
| I decided to add a couple more colors to my hair before I went to my Zumba class. (That's why I've got the bandana. It's not my normal style accesory. But when your moving and sweating and dancing, I don't want hair in my face. So this works pretty well. Plus it makes me look tough. ;) |
The next Pinterest inspired project I tackled today was to fix the hole in my son's sweat pants. This kid LOVES his sweats. So even though he has a couple of other pairs, I still didn't want to pitch these ones. However, the pair with the biggest hole is usually the one he'll pick to wear for the day, especially if we plan on leaving the house. I'm not a huge fan of that, so when I saw this idea on Pinterest I knew I had to do it. It's a perfect, fun, and creative fix for my little guys pants. The original idea comes from a Dutch blog called bymiek.blogspot.com. If you are using Google, they have a translator for you. It's not perfect, but you'll get the idea. If you click on her tutorials heading you can scroll down until you find monster knie (yes that's how it's spelled there) She did hers on a pair of jeans which is also cute. I would share the original photo but it seems she wants me to ask permission first and I don't have time for that.
Here's what I did using scraps I had lying around.

This is the offending pair of sweat pants. They are from Old Navy which is a brand that usually last us awhile. The really sad part is, I bought these new for Wyat. They aren't even hand-me-downs. So either they aren't making pants like they used to, or my little man is just really into playing on his knees, hard core. Maybe it's both?

Here's a little close-up of the holey knee before the fix-er-upper.

And here it is after the fixer-upper! Isn't it cute? And funny? Ha! I think it's great. I did it all by hand sewing. No sliding a sewing machine in that little pant leg for me. No worries, it didn't take long at all (and involved almost no finger pricking). I was able to do it while sitting in the school room, working on some worksheets with Wyat.

When all was done, Wyat was pretty impressed with my skills. He's going to enjoy wearing these pants around town. Plus I already have a request from Seth to do this to his next pair of pants that get a hole in them. I had to make sure he understood that the hole better not show up with any 'help' from him. :)
Maybe this technique should be used for all those jeans that are being sold with the holes already in them. People would look better with these little monsters on their legs than with their thighs poking through the holes. :)
That's all I have for now. Gonna have to go look and see what I can do/make next.
What about you? Do you have any crafty ideas that have been sitting on the back burner in your brain for too long?
Make today the day you pull them off the burner and make them a reality.
Happy Wednesday!

2 comments:
Love the monster hole fixing idea!!! It looks so adorable. I have to try that on one of the boys' pants. I think I maybe a little too old for the chalk hair thing though. LOL!
i love this, so cute!
Post a Comment